Customer pet-repair ultimate guide

The Ultimate Guide to Pet Damage Repair Results

Ultimate guide Fabric & Carpet Floor & Furniture Leather & Vinyl

Explore pet-related scratches, tears, holes, pulled fibers and chewing across leather, fabric, carpet and wood. Compare customer repair results, identify the material and affected layers, and choose the Coconix method that fits the damage.

Product families
Leather Care PROFabric Mend PROWood Restore PRO
Designed for
Pet ownersFurniture ownersRentersDIY beginners
Dog and cat in a pet-friendly room with leather, fabric, rug and wooden furniture

Quick answer

What this guide will help you do

  • Compare pet-related scratches, tears, holes, pulled fibers and chewing across leather, fabric, carpet and wood.
  • Use customer before-and-after examples to understand repair patterns while recognizing that preparation and color or fiber matching affect the result.
  • Choose the Coconix method by material, affected layers and damage depth—not by the pet alone.
  • Protect the completed repair while it dries and change the behavior or access pattern that caused the damage.

Results overview

How to interpret real pet-damage repair results

Customer before-and-after images are most useful when the original material, damage depth and finished viewing conditions are compared—not when the result is treated as a universal promise.

Customer results show what can be achieved across leather and vinyl, fabric and carpet, and wood, but they are examples rather than guarantees. Compare the material, damage depth, location, color, texture, lighting, viewing angle and time allowed to dry.

Use this guide to read the evidence honestly: identify the original damage, match it to the correct Coconix product and approved method, judge the repair after it dries, and separate the visible result from any unresolved cause of the damage.

Dog and cat in a pet-friendly room with leather, fabric, rug and wooden furniture

Visual identification

Compare the original pet damage before judging the result

A result is relevant only when the example starts with a similar material, affected layer and level of missing or displaced material.

Look beyond the pet or the surface color. Check whether leather or vinyl is scratched, open or peeling; whether fabric or carpet has lost fibers, backing or fill; and whether wood has surface scratches, dents or deeper missing material. Damage depth and location usually matter more than the animal that caused it.

Use examples with a similar material and damage structure as the closest visual reference. A shallow scratch, a backed tear, a missing carpet section and a deep wood gouge require different repair systems even when they came from the same behavior.

Scratches, tears and chewing

Leather and vinyl pet damage

Check material type, missing surface, opening depth and whether the damaged panel flexes during use.

Fibers, backing and fill

Fabric and carpet pet damage

Inspect pulled fibers, tears, holes, backing and localized missing fill rather than treating pet damage as a surface-only problem.

Scratches, dents and missing material

Wood pet damage

Check surface color, grain, depth and whether sound wood remains around any deep void that needs epoxy putty.

Assessment

Use five checks to evaluate a pet-damage repair result

Check material, depth, location, preparation and viewing conditions before deciding whether an example is comparable to your repair.

First identify the material. Second, inspect every affected layer rather than only the visible mark. Third, note whether the damage sits on a flexible, load-bearing, safety-sensitive or high-wear area. Fourth, compare how the example was cleaned, supported, filled, color matched and allowed to dry. Fifth, judge the final color, level, texture and edge in normal-use lighting.

A strong comparison explains why the method fits the damage. A visually similar item is not enough if the material, movement, backing, finish or repair scope is different.

Cost and route comparison

How much does pet-damage repair cost?

A compatible localized DIY repair can start with one $19.95 Coconix kit. Linked guides show representative professional ranges of $75–$900, €65–€770 and £60–£800, depending on the material, damage depth and service scope.

Compare the same repair scope. Rebuilding one localized leather scratch, fabric tear, carpet section or wood gouge is not equivalent to replacing a complete panel, reupholstering furniture, refinishing a floor or correcting structural damage.

DIY cost is more predictable when the damage matches one approved kit method and the underlying cause has been controlled. Professional quotes can include diagnosis, disassembly, material replacement, structural work, cleaning, finishing or minimum call-out charges.

DIY route

DIY localized repair with a Coconix kit

USD
$19.95
Best for
Stable, compatible localized damage with enough time for preparation, color matching, layering and drying.
Time or difficulty
Usually one repair session plus drying time; difficulty depends on material, depth, pattern and location.
Tradeoffs
Lower cash outlay, but the user controls diagnosis, preparation, color, texture and the final finish.

Current Coconix store price for one compatible repair kit before shipping and taxes; one kit can support multiple small repairs.

Professional route

Professional repair service

USD
$75–$900
EUR
€65–€770
GBP
£60–£800
Best for
Broad damage, safety-sensitive locations, failed structure, active moisture or movement, or results where specialist matching is essential.
Time or difficulty
Scheduling and service time vary by scope; refinishing, replacement parts or structural work can extend the project.
Tradeoffs
Higher cash outlay, but professional tools and experience can be valuable for complex or high-risk work.

Planning range compiled from the professional-cost ranges in this guide’s linked Coconix How-To articles; local quotes vary with scope, access, material and structural work.

Product guide

Match each pet-damage result to the correct Coconix product

Choose by material and repair scope: leather and vinyl, fabric and carpet, or wood—then decide whether the damage is localized or broad.

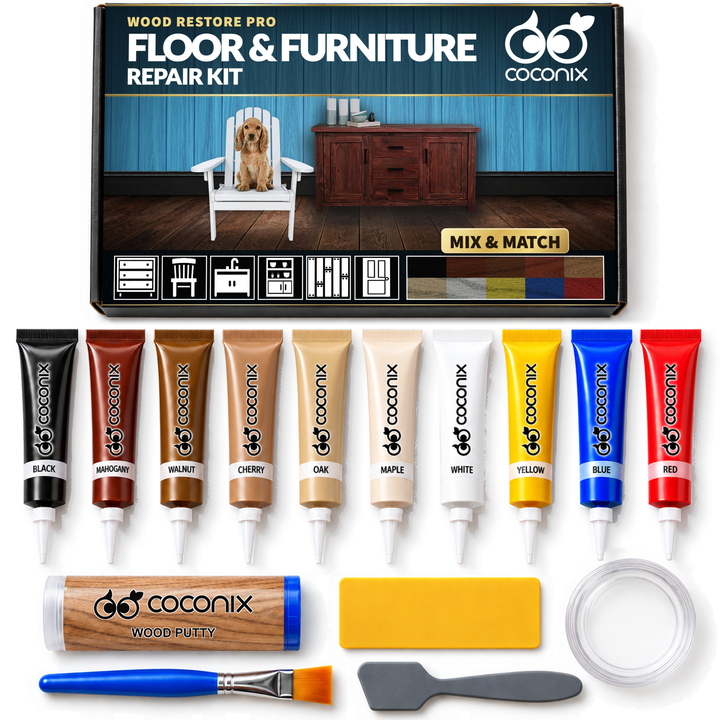
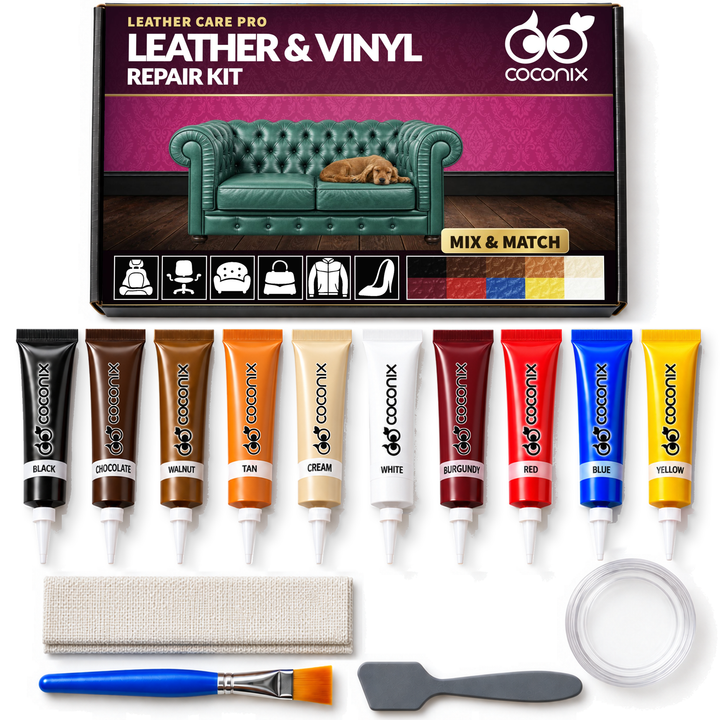
Use the Leather & Vinyl Repair Kit for compatible localized scratches, cuts, tears, burns, holes and small peeling areas. Use the Fabric & Carpet Repair Kit where textile fibers, backing, fill or a torn area must be rebuilt. Use the Floor & Furniture Repair Kit for compatible wood scratches, dents, chips, holes and deeper localized loss.

For extensive stable peeling or broad color loss across a compatible leather or vinyl surface, a Recoloring Balm may be the better route than repairing many isolated patches. The original material and complete damage depth control the choice.

Method finder

Open the matching repair method behind each result

Use the linked Coconix How-To that matches the material and damage; the result image alone is not a substitute for the approved method.

Each linked guide combines article-specific suitability, exclusions, preparation, cost, aftercare and troubleshooting with the reusable product method. Choose the guide by the material and damage type, then follow its ordered Coconix steps.

Do not transfer a leather method to fabric, a fabric-fiber method to wood or a surface-color repair to an unresolved deep or moving area. Where deeper loss is supported by the kit, use the matching backing, fibers, fill or epoxy putty described by that approved method.

Quality check

Judge the finished pet-damage repair after it dries

Evaluate color, level, texture, edge, adhesion and normal movement only after the repair is fully dry.

View the repair beside undamaged material in the lighting where the item is normally used. Check whether the color and undertone belong with the surrounding surface, the repair sits level, the texture or fiber direction is believable, and the edge fades gradually rather than forming a hard outline.

Then check function. The area should remain stable during the item’s normal safe movement and use. If a backed tear, filled void or rebuilt edge settles after drying, correct that specific layer with the matching approved method instead of covering the whole area with a thick application.

Troubleshooting

Troubleshoot a pet-damage repair that does not match the example

Use the symptom-specific answers below to identify the likely cause and make a controlled correction.

A visible mismatch, reopened repair or repeat pet damage has a different cause and needs a different response. Diagnose the failed variable first, then correct only the color, level, texture, support, drying or behavior issue that applies.

The troubleshooting answers below provide concrete corrective actions while preserving the material-specific Coconix method.

Why does my pet-damage repair still look different after it dries?

Recheck the repair under normal-use lighting and correct the specific mismatch in thin, controlled adjustments.

Likely cause
The color was judged while wet, the undertone or sheen differs, the fiber direction or grain was not recreated, or the repair edge is too abrupt.
What to do
Compare the fully dry repair beside undamaged material in normal-use light. Adjust one variable at a time: refine the remaining color mix, soften the edge with a thin blend, align fibers or grain, and add only the texture needed to match the surrounding surface.

Why did the repaired pet tear, scratch or gouge reopen?

Inspect the complete depth and movement of the area, then rebuild the failed layer with the matching material-specific method.

Likely cause
The original damage extended into backing, foam, a seam, missing fibers, a deep wood void or another moving layer; the repair was used before fully dry; or the pet repeated the same behavior.
What to do
Remove only loose failed repair material, clean and dry the area, and reassess every affected layer. Use backing, fibers, fill or epoxy putty where the approved Coconix method calls for it, rebuild in controlled layers, let the repair dry fully and address the behavior or condition that caused the repeat damage.

How can I reduce repeat pet damage after the repair?

Protect the repair until fully dry and make the repaired location less attractive while giving the pet a practical alternative.

Likely cause
The same texture, scent, stress trigger, access route or learned scratching or chewing behavior still draws the pet back to the repaired area.
What to do
Clean the surrounding area with a material-compatible product, block access while the repair dries, place an appropriate scratching, resting or chewing alternative nearby, reward use of that alternative and use a removable cover or barrier during the retraining period.

Care and prevention

Protect the repair and reduce repeat pet damage

A finished repair lasts longer when it dries fully, is cleaned gently and is paired with a practical alternative to the behavior that caused the damage.

Keep the repaired area out of normal use until every layer is fully dry. Clean it with a material-compatible product, avoid direct abrasion or impact, and check the area early if the surrounding material begins to move, peel or loosen.

Reduce repeat damage by limiting access during drying, removing residual scent with a compatible cleaner, placing an appropriate scratching, resting or chewing alternative nearby, rewarding the alternative and using a removable cover or barrier during retraining.

Coconix repair solutions

Products featured in this guide

Match the product to the material, damage and size of the repair.
Clear answers

The Ultimate Guide to Pet Damage Repair Results: frequently asked questions

What do the customer pet-damage repair photos show?

They show real customer before-and-after examples across leather and vinyl, fabric and carpet, and wood. They demonstrate possible outcomes, not a guaranteed invisible repair; the result depends on the material, damage depth, preparation, color and texture matching, lighting, application and drying.

Which Coconix kit matches the pet-damage results in this guide?

Match the kit to the material and repair scope: Leather & Vinyl Repair Kit for localized leather or vinyl damage, Fabric & Carpet Repair Kit for textile damage, and Floor & Furniture Repair Kit for wood damage. Extensive stable peeling or broad color loss on compatible leather or vinyl may fit a Recoloring Balm instead.

Coconix Repair Hub

Tired of throwing things away? Join us free.

Learn how to save money, rescue your favorite items and transform old into new with practical repair ideas.

  • Expert tips and step-by-step repair tutorials delivered to your inbox.
  • Creative ideas for restoring the things you already love.

Turn problems into possibilities.

Repair ideas for real life

Animated Coconix repair message
Leather Wood Fabric Tile