Repair guide
How to fix a cracked vinyl boat seat?
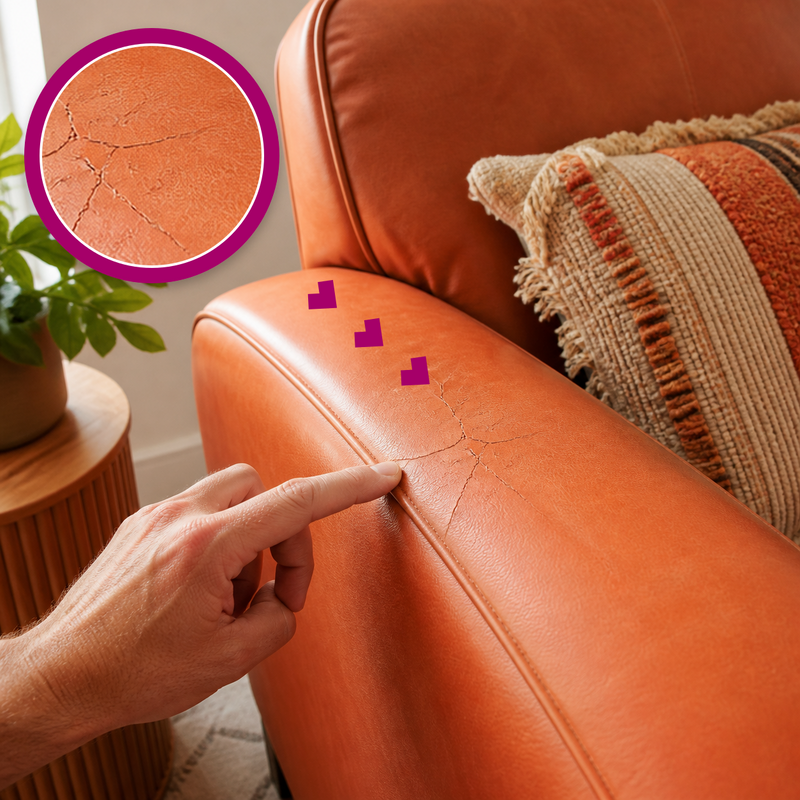
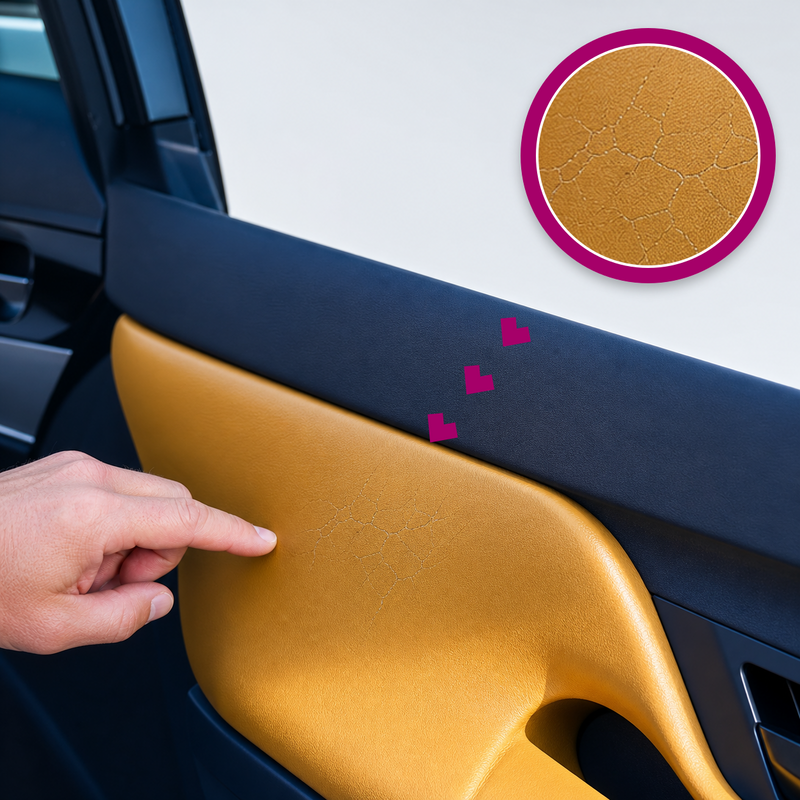
A cracked vinyl boat seat can be repaired by filling the damaged finish, restoring its color and recreating the marine-vinyl grain before sun, water and flexing enlarge the cracks. The Coconix Leather & Vinyl Repair Kit builds clustered cracks and shallow splits back to a level surface with several thin layers of color-matched compound.
Remove the cushion or take the boat out of use, then clean salt, sunscreen and body oils and let the seat dry completely. Inspect seams, foam, the seat base, drainage paths and hardware. Use the surface method while cracks remain closed; for an opened split, use the kit’s backed cuts-and-tears procedure after confirming the interior is dry. Use marine upholstery service for a failed seam, saturated or mold-contaminated foam, a loose base, damaged safety hardware, widespread active peeling, or vinyl that continues to split when gently flexed.
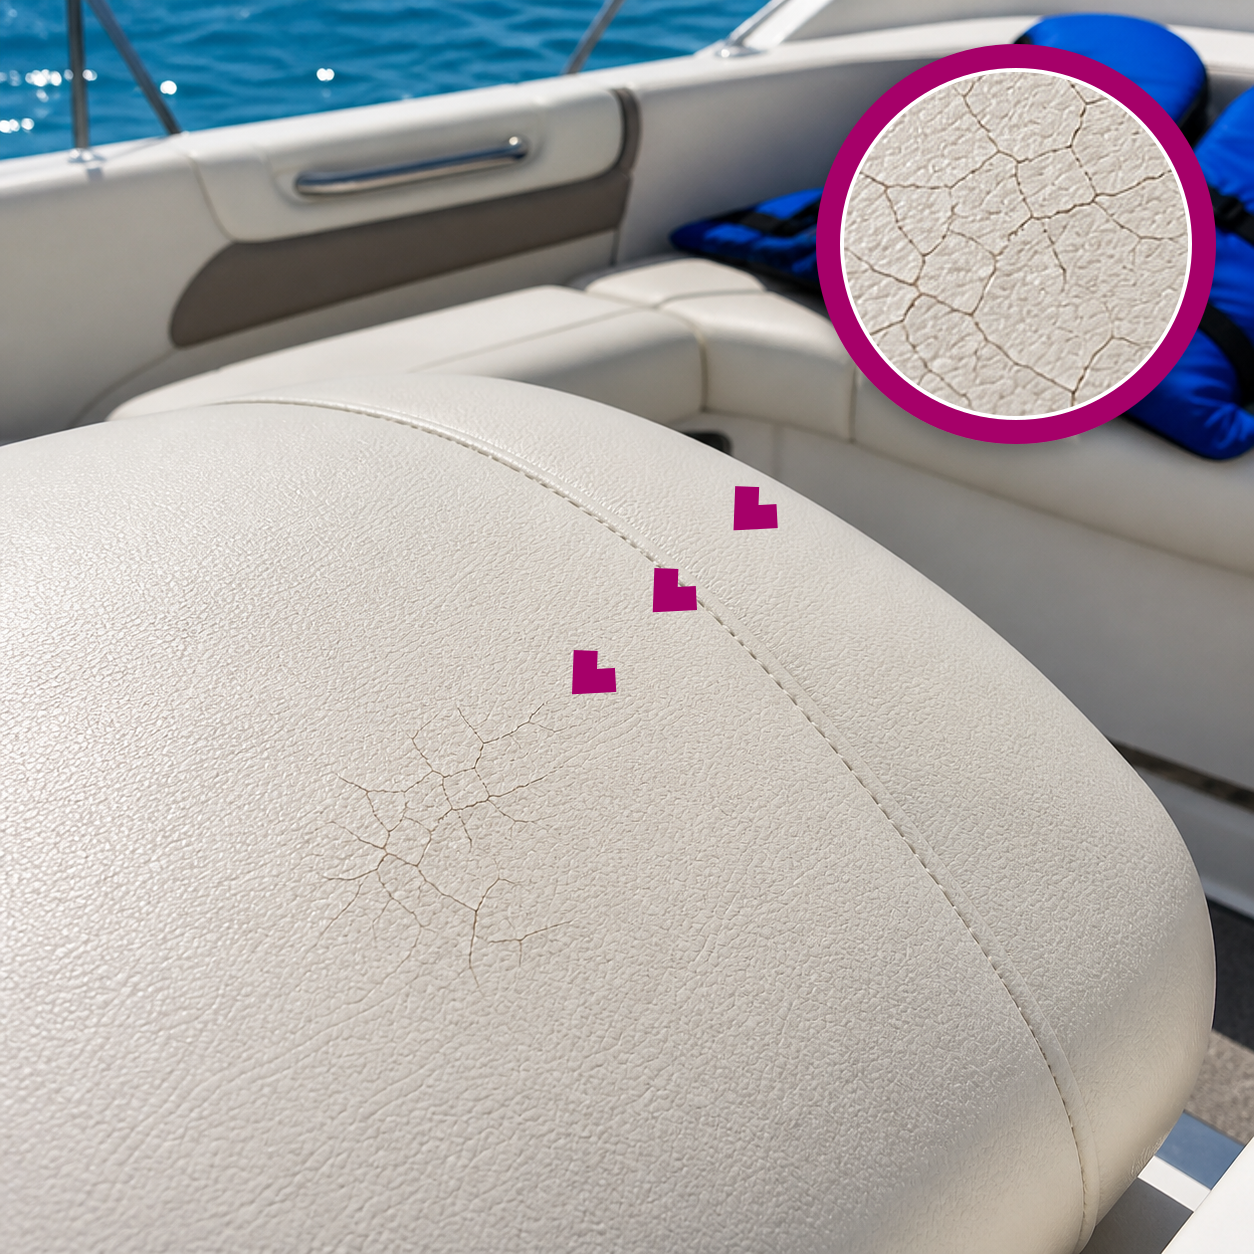
Repair at a glance: cracks on a vinyl boat seat
- Material
- Vinyl upholstery
- Damage
- cracks
- Item
- vinyl boat seat
Repair cost
How much does it cost to repair cracks on a vinyl boat seat?
Professional repair estimates by currency
USD
United States dollar
- Smaller repair$150–$300
- More extensive repair$400–$600
EUR
Euro
- Smaller repair€130–€260
- More extensive repair€340–€510
GBP
British pound
- Smaller repair£100–£250
- More extensive repair£300–£500
What does professional repair cost?
What does a DIY repair cost?
$19.95
The kit price shown here is live. One kit can often cover more than one small repair.
See the repair kitWhat changes the repair cost?
- The size, depth and severity of the damage
- The material and whether reinforcement is needed
- The color, grain, texture and finish-matching work
- Local labor rates and whether the item must be transported
Professional prices are indicative ranges from the approved article content and can vary by repairer, location and condition. Request a local quote for an exact comparison.
Difficulty
How difficult is it to repair cracks on a vinyl boat seat?
Time required
How long does it take to repair cracks on a vinyl boat seat?
When cracks on a vinyl boat seat can be repaired at home
When to call a professional for cracks on a vinyl boat seat
Prepare before you start
Materials needed to repair cracks on a vinyl boat seat
-

Coconix Leather & Vinyl Repair Kits
-

Rubbing Alcohol (70% or more)
-

Cotton Swab or Cotton Pad
-

Plastic Wrap (for texture)
-

Scissors (if necessary)


Before repairing cracks on a vinyl boat seat
Watch how to repair cracks on a vinyl boat seat
The written procedure below covers the repair steps shown in the video.
Detailed procedure
How to repair cracks on a vinyl boat seat: step by step
-

Step 1
Preparing the Area
- Use a pair of sharp scissors to carefully trim away any excess material, ensuring you remove frayed threads, rough edges, or protrusions without damaging the surrounding area.
- Take your time to create a smooth and clean edge around the cracks, as this will help the repair compound or filler adhere properly and result in a more seamless finish.
-

Step 2
Cleaning the Area
- Clean the area surrounding the cracks on your vinyl boat seat using rubbing alcohol applied with a cotton swab.
- Always test the rubbing alcohol on a small, hidden area first to ensure it won’t damage or discolor the material.
- If rubbing alcohol appears too harsh for your vinyl boat seat, opt for a gentler alternative like warm, soapy water or your regular leather or vinyl cleaner. Ensure the cleaning agent is suitable for the material and won’t leave any residue.
-

Step 3
Mixing the Repair Compound
- If your repair requires a custom color, consult the Color Mixing Guide included in the kit to achieve a perfect match for your vinyl boat seat.
- Use the provided empty mixing jar to combine the colors. Begin with the main base color and gradually add small amounts of the secondary color, mixing thoroughly after each addition to fine-tune the shade.
- Take your time to match the color accurately, testing a small amount on an inconspicuous area of your vinyl boat seat, to confirm it blends seamlessly.
-

Step 4
Applying the Repair Compound
- Apply the repair compound directly to the cracks on your vinyl boat seat, ensuring full coverage of the damaged area.
- Use the spatula for larger or deeper applications, spreading the compound evenly to create a smooth surface.
- For smaller areas or intricate details, use the brush to precisely apply the compound and touch up any fine spots, ensuring the repair blends seamlessly with the surrounding material.
-

Step 5
Drying and Additional Layers
- Let the repair compound on your vinyl boat seat dry thoroughly for several hours, ensuring it is no longer sticky to the touch before proceeding.
- Once the first layer is fully dry, evaluate the repaired area to determine if additional layers are needed to achieve a seamless blend with the surrounding surface.
- Apply subsequent layers as required, allowing each layer to dry completely before adding the next for the best results and a durable finish.
-

Step 6
Adding Texture
- When the repair compound on your vinyl boat seat is semi-dry, tear off a piece of plastic wrap large enough to cover the repaired area.
- Gently press the plastic wrap against the semi-dry top layer of the repair compound to create a subtle texture that mimics the surrounding surface.
- Repeat this process as needed, adjusting the pressure and placement, until the desired texture is achieved, ensuring the repaired area blends seamlessly with the original surface.
-

Step 7
Finishing Touches
- Once the repair compound on your vinyl boat seat has dried completely, moisten a cotton pad or swab with rubbing alcohol.
- Gently rub the edges of the repaired area to smooth and blend them with the surrounding surface, creating a seamless transition.
- After the edges are smooth, apply a leather conditioner to the entire surface of your vinyl boat seat. This will nourish the material, restore its natural shine, and help protect it from future wear.


Protect the result
How to care for a vinyl boat seat after repairing cracks
- Keep the restored surface out of use until every layer is fully dry and no longer tacky.
- Clean gently with a compatible leather or vinyl product; avoid harsh solvents, abrasive pads and prolonged moisture.
- Limit repeated friction, sharp objects, strong heat and direct sun where practical.
- Inspect high-contact areas periodically. Do not use slippery conditioners or dressings on steering wheels, shift knobs or other vehicle controls.
Aftercare
Troubleshooting
Why does a leather or vinyl repair look too light, dark or flat?
The mix was judged while wet, the undertone differs, the compound layer is too thick, the lighting changed, or the surrounding grain was not recreated.
Compare a thin, fully dry test beside undamaged leather or vinyl in normal-use light. Adjust one color at a time, mix thoroughly and dry-test again. Apply only thin layers and let each dry fully; recreate the surrounding texture while the final layer is semi-dry, then blend the fully dried edge as shown in the matching Coconix method.
Why is the edge or texture of a leather or vinyl repair still visible?
Compound was applied too thickly, the opening or groove was not leveled in thin layers, the blend ended abruptly, or texture was not recreated while the final layer was semi-dry.
Use the damage-specific Coconix method on the smallest affected area. Build a low spot with thin layers, letting each layer dry fully. Avoid adding more material to a ridge; compare the cured edge with the official blending step before reworking it. For a smooth patch, recreate the surrounding texture while the final corrective layer is semi-dry, then blend only the fully dried boundary.
What should I do if leather or vinyl damage reopens or peeling continues?
The opening lacked support, the compound was built too thickly or used before fully dry, repeated flexing or abrasion is stressing the spot, or the surrounding coating is failing beyond a localized repair.
Clean and dry the complete area, inspect it while the item moves normally and choose the matching route. For an opened cut or tear, use the kit’s backed-opening method and thin compound layers. For localized stable peeling, remove only fully detached fragments and use the repair method. For broad stable coating loss, prepare and recolor the larger continuous area with the Balm method so isolated patches do not keep appearing.
Use specialist upholstery repair for airbag seams, restraint or electrical components, failed load-bearing seams, damaged frames or mechanisms, major contaminated foam loss, or leather or vinyl that keeps splitting or crumbling beyond the repair area.
Why did the repair color change as it dried?
The mixture was judged while wet, the test layer was too thick, or the surface detail and lighting changed the apparent result.
Keep the remaining mixture. Make one very small correction, mix thoroughly and test again. If the base color is correct but the repair still stands out, recreate the required texture, grain, pattern or pile instead of changing the color again.
Stop before visible application if repeated small tests do not match; send Coconix natural-light photos of the whole item, the damage and a nearby undamaged area.
Frequently asked questions
What leather and vinyl damage can the Coconix Leather & Vinyl Repair Kit repair?
Can Coconix repair colors be mixed?
Should I judge a Coconix repair color while it is wet or dry?
How long will the repair last?
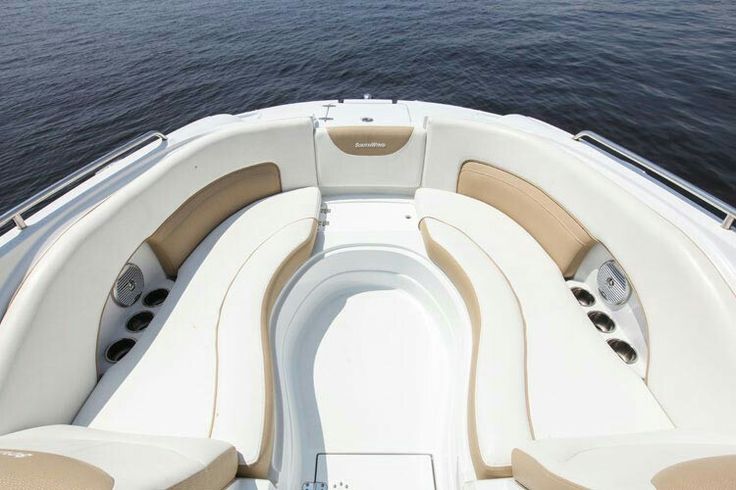
Customer repair story
Filled in boat seat cracks well
I used the product to fill in some vinyl cracks in my boat seat. It worked well and instructions and support were great.
Individual repair results vary with the damage, material, preparation and application.
Recommended for this method
Best Coconix kit to repair cracks on a vinyl boat seat
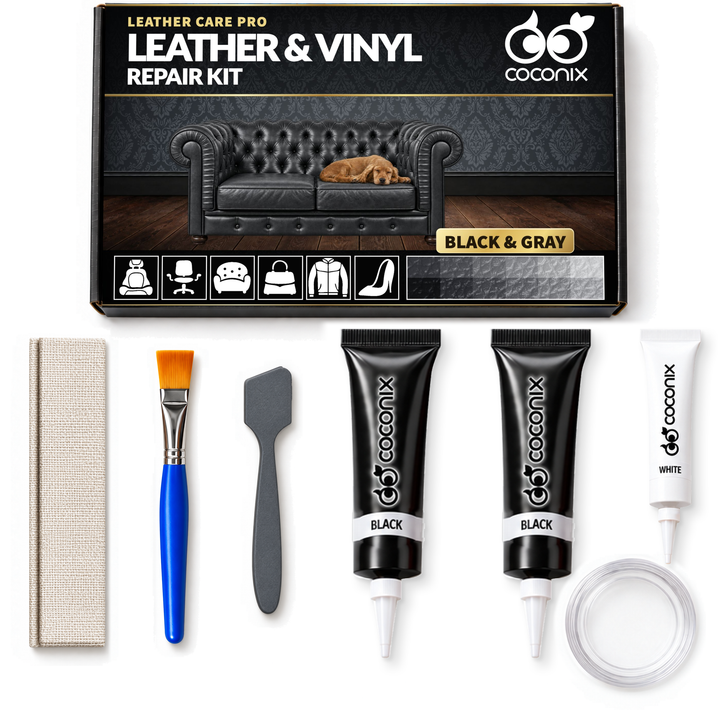
Leather & Vinyl Repair Kit - Black & Shades
$19.95
Repair damage on black and dark-toned leather and vinyl without replacing the whole item. The Coconix Leather & Vinyl Repair Kit combines backing fabric with mixable repair compounds...
Other color options
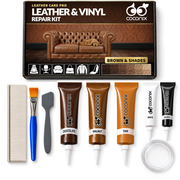
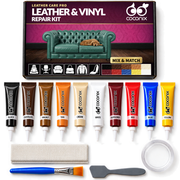
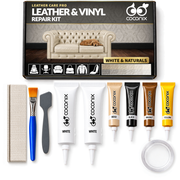
More repair possibilities