Coconix repair principles

The Ultimate Guide to Successful Coconix Repairs: 10 Principles

Ultimate guide

Successful repairs depend on preparation, testing, patient application, and controlled drying more than speed. These ten Coconix principles help you choose the right product, follow its instructions, evaluate the result, and get support before a small uncertainty becomes a larger problem.

Product families
Leather Care PROWood Restore PROFabric Mend PROTile Repair PRO
Designed for
First-time Coconix customersDIY repairersRepair-support customers
Layered living room combining leather, fabric, rug, hardwood, tile and wood surfaces

Quick answer

What this guide will help you do

  • Confirm the material, damage, product, and expected result before opening the repair kit.
  • Read the current product instructions and test cleaners, colors, and fibers in a hidden area.
  • Build the repair deliberately, keep products and methods separate, and allow the required drying time.
  • Photograph the before, during, and after condition and contact Coconix early if the repair changes direction.

Start here

Understand the ten principles behind a successful Coconix repair

Reliable repairs come from correct diagnosis, patient preparation, controlled application and evaluation after drying.

These principles apply across Coconix repair systems without replacing the instructions for a specific material or damage type. They organize the decisions that happen before, during and after the repair.

Use the product selector and linked How-to articles to turn each principle into the correct material-specific method.

Layered living room combining leather, fabric, rug, hardwood, tile and wood surfaces

Visual identification

See the Coconix repair systems the ten principles support

The principles stay consistent, while color, texture, grain, fibers and repair depth change by product family.

Identify the material and product system first. A principle such as testing color applies everywhere, but the visual target differs between leather grain, wood grain, fabric fibers and tile pattern.

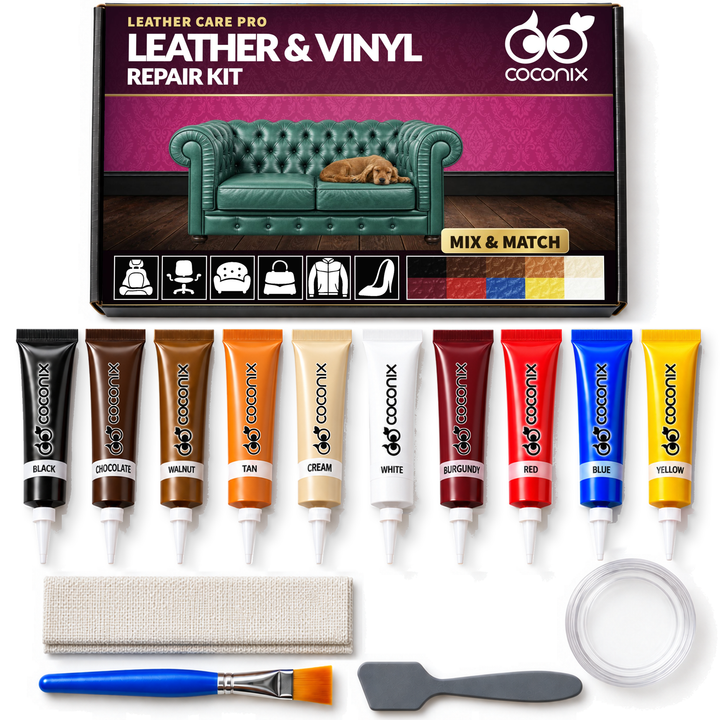
Coconix Leather and Vinyl Repair Kit Mix and Match Any Color contents with backing fabric

Leather Care PRO

Leather & Vinyl Repair Kit

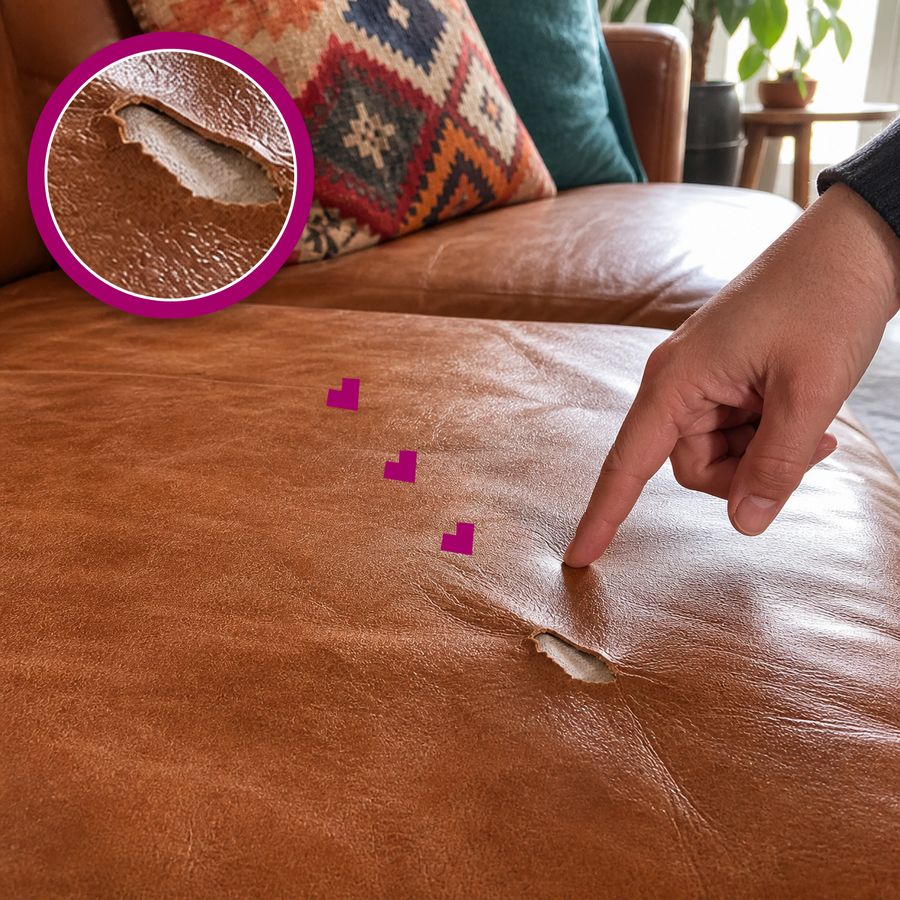
For localized scratches, cracks, cuts, tears, burns, holes, worn finish and small peeling areas on compatible leather or vinyl.

View product
Coconix Leather and Vinyl Recoloring Balm - Dark Brown kit contents

Leather Care PRO

Leather & Vinyl Recoloring Balm

For broad, stable color loss or extensive compatible peeling where an entire panel or item needs a more uniform recoloring treatment.

View product
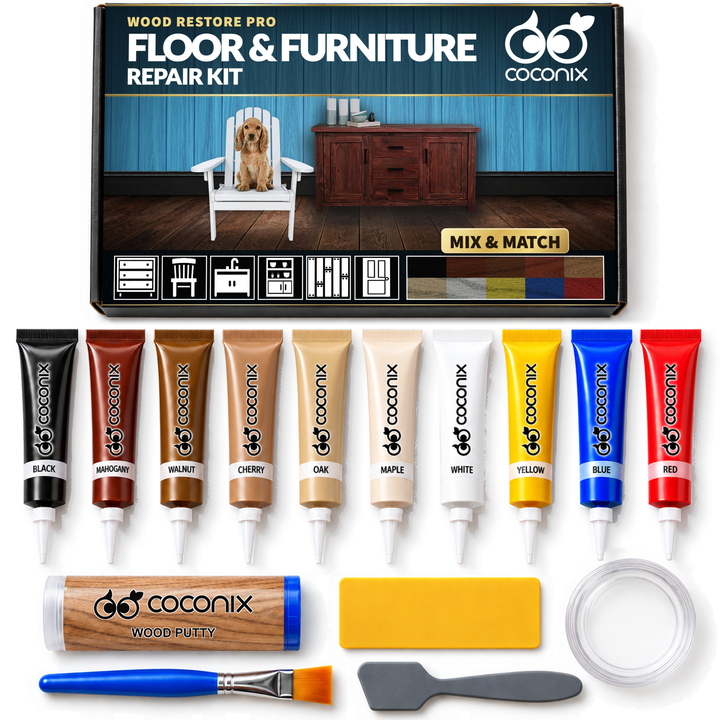
Coconix Floor and Furniture Repair Kit - Mix and Match Any Color

Wood Restore PRO

Floor & Furniture Repair Kit

For localized scratches, chips, dents, cracks, gaps, holes, worn color and missing material on compatible wood surfaces.

View product
Coconix Fabric and Carpet Repair Kit - Mix and Match Any Color complete kit contents

Fabric Mend PRO

Fabric & Carpet Repair Kit

For localized cuts, tears, burns, holes, worn areas and pet damage through fabric or carpet fibers, backing and small amounts of fill.

View product
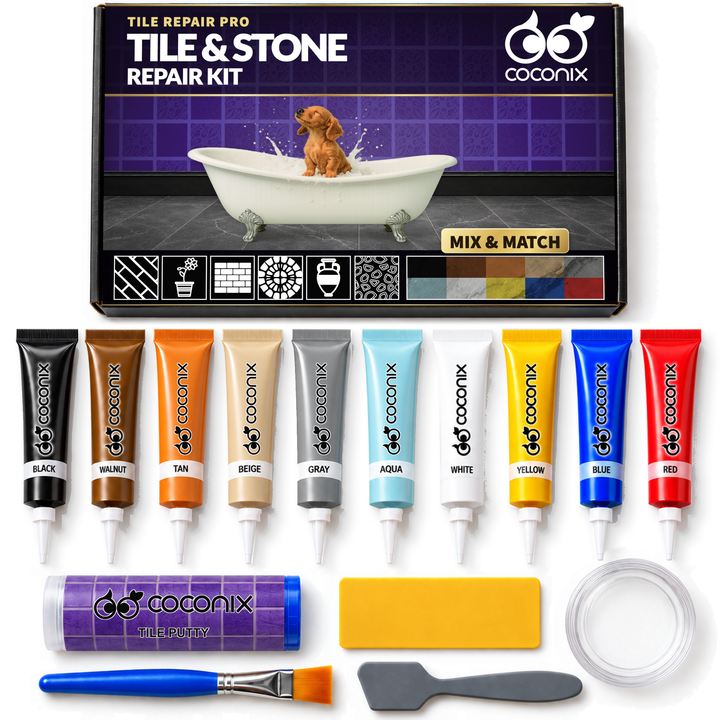
Coconix Tile and Stone Repair Kit with epoxy putty, 10 mixable colors, jar, blue brush and gray spatula

Tile Repair PRO

Tile & Stone Repair Kit

For compatible localized chips, cracks, holes and broken areas in tile and stone surfaces.

View product

Principles 1–4

Plan the repair before opening the product

Ask for help, document the damage, prepare the surface, and give the project enough time.

The first four Coconix repair principles focus on planning: contact Coconix when the material or product is uncertain, send clear photos, read and prepare, and set patient expectations.

Good photos show the complete item, the damage close up, the surrounding color, and the material under normal lighting. Preparation includes checking compatibility, cleaning appropriately, and testing color before visible application.

01

Contact Coconix

Ask for guidance when you are uncertain about the material, product, color direction, or repair method.

02

Send clear repair photos

Photograph the full item, the damaged area, and the surrounding color in clear natural light so the repair team can understand the project.

03

Prepare and practice

Read the current instructions, prepare the surface, and test the product and color in a hidden area before working on the visible repair.

04

Have patience

A careful repair takes time. Work deliberately and avoid rushing preparation, color matching, application, or drying.

Assessment and application

Apply the ten Coconix repair principles deliberately

Build the repair in controlled stages and evaluate each decision before moving to the next.

A repair should be evaluated between stages. One heavy application can be harder to level, dry, and blend than several controlled layers. If the color, texture, edge, or material response is not progressing as expected, pause and ask for guidance before adding more product.

Drying time is part of the method. Texture should be recreated only with the technique specified for the current product and surface.

05

Build the repair with thin layers

Thin, controlled layers are easier to level, blend, and dry than one heavy application.

06

Reach out if the repair changes direction

Pause and contact Coconix if the repair is not progressing as expected instead of adding more product without diagnosing the issue.

07

Allow sufficient drying time

Keep the repaired area out of use until each layer and the finished repair are fully dry under the current product instructions.

08

Ask how to recreate texture

Texture affects how a repair catches the light. Ask for product-specific guidance when the original grain, weave, or pattern needs to be recreated.

Decision comparison

Compare a prepared repair workflow with a rushed workflow

Preparation preserves options; rushing multiplies uncertainty in color, level, texture, drying and durability.

A prepared workflow confirms the material, damage depth, product, working conditions and test result before the visible repair. It follows the approved instructions and lets each layer dry before evaluation.

A rushed workflow mixes several decisions together, making it difficult to tell whether a problem comes from product choice, preparation, application, color or drying.

Product guide

Match the Coconix product system to the repair principles

The principles guide how you work; the material and damage determine which Coconix product you use.

Select Leather Care PRO, Wood Restore PRO, Fabric Mend PRO or Tile Repair PRO only after identifying the surface and repair goal. Use Recoloring Balm for broad compatible leather or vinyl color restoration rather than treating it as a localized filler.

Method finder

See the ten Coconix principles in material-specific repair guides

Open the closest approved How-to to see how the shared principles translate into a real material and damage method.
The linked guides remain the source for repair steps, supplies and timing. This guide explains the reusable decision habits around those instructions.

Quality check

How to evaluate a Coconix repair after it dries

Judge the result against the surrounding material, the original damage and normal use—not against an isolated close-up alone.

Check color in normal light, level or edge transition, material-specific texture, grain or fibers, and stability through normal use. A repair can be structurally improved even when a close inspection still reveals it.

Document the result before making another adjustment so each change is deliberate and reversible where possible.

Troubleshooting

Troubleshoot a Coconix repair using the ten principles

Return to product fit, visual blending and the original cause before adding more repair material.

The cards below turn common symptoms into a diagnostic checkpoint. For the detailed correction, reopen the approved method for the exact material and damage.

What should I do if I am unsure which Coconix product matches the material?

Likely cause
Products are being compared by color or object name instead of the surface material, damage type, depth and size of the affected area.
What to do
Inspect an undamaged area to confirm the material, then check whether the damage is surface-only, opened through the material or missing backing or fill. Match those findings to the product map above and open the damage-specific Coconix How-to before application. For peeling leather or vinyl, use the Repair Kit for a few localized areas that must blend with the original color, and Recoloring Balm when broad stable peeling requires recoloring the larger surface.

Why does a repair stand out after it dries?

Likely cause
Color, surface level, edge transition or material detail differs from the surrounding area, even if the other three are correct.
What to do
View the fully dry repair from normal distance and light, then check color, level, edge and texture separately. Correct only the failed check with the matching Coconix How-to: adjust and dry-test the mix for color, level only where the approved method permits, keep the blend boundary small, or restore the material-specific grain, pile, weave or texture.

What should I do if the same damage keeps returning?

Likely cause
The original stress is still active, the repair did not include the full depth of the damage, the wrong product route was chosen, or the area returned to use before curing.
What to do
Inspect beyond the visible mark and name the active cause—movement, moisture, abrasion, heat, contamination, pet behavior or missing support. Correct that cause, rebuild every affected layer covered by the kit, and repeat only the relevant damage-specific method with the full drying period. Do not keep adding surface product over a moving or contaminated base.
Stop or get help when
Use specialist assessment for active moisture or rot, structural movement, vehicle safety components, failed furniture mechanisms, broad contamination, active infestation, or material that continues crumbling or delaminating beyond the repair.

Care and prevention

Document, protect and learn from every Coconix repair

Record what worked, protect the finished area and use the result to improve the next repair decision.

Before-and-after photos help evaluate the result in normal lighting and provide useful context if support is needed. Sharing an honest repair experience can help other DIYers understand the time, material, and level of detail involved.

The final principle is simple: enjoy learning a repair skill and extending the useful life of an item that might otherwise be replaced.

09

Share the repair experience

Document the before and after condition and share useful observations that can help other repairers set realistic expectations.

10

Have fun

Treat the project as a practical skill-building experience and take satisfaction in extending the useful life of the item.

Coconix repair solutions

Products featured in this guide

Match the product to the material, damage and size of the repair.
Clear answers

The Ultimate Guide to Successful Coconix Repairs: 10 Principles: frequently asked questions

Why is drying time part of a successful Coconix repair?

Drying lets each applied layer settle before the next decision. Rushing can distort color, level, texture or adhesion, so follow the current product instructions for every layer.

What photos help Coconix support review a repair?

Send the complete item, a close view of the damage and an undamaged comparison area in natural light, plus the material, product and repair stage.

Coconix Repair Hub

Tired of throwing things away? Join us free.

Learn how to save money, rescue your favorite items and transform old into new with practical repair ideas.

  • Expert tips and step-by-step repair tutorials delivered to your inbox.
  • Creative ideas for restoring the things you already love.

Turn problems into possibilities.

Repair ideas for real life

Animated Coconix repair message
Leather Wood Fabric Tile