How to fix a burn mark on a car seat

How to fix a burn mark on a car seat with the Coconix Fabric and Carpet Repair Kit

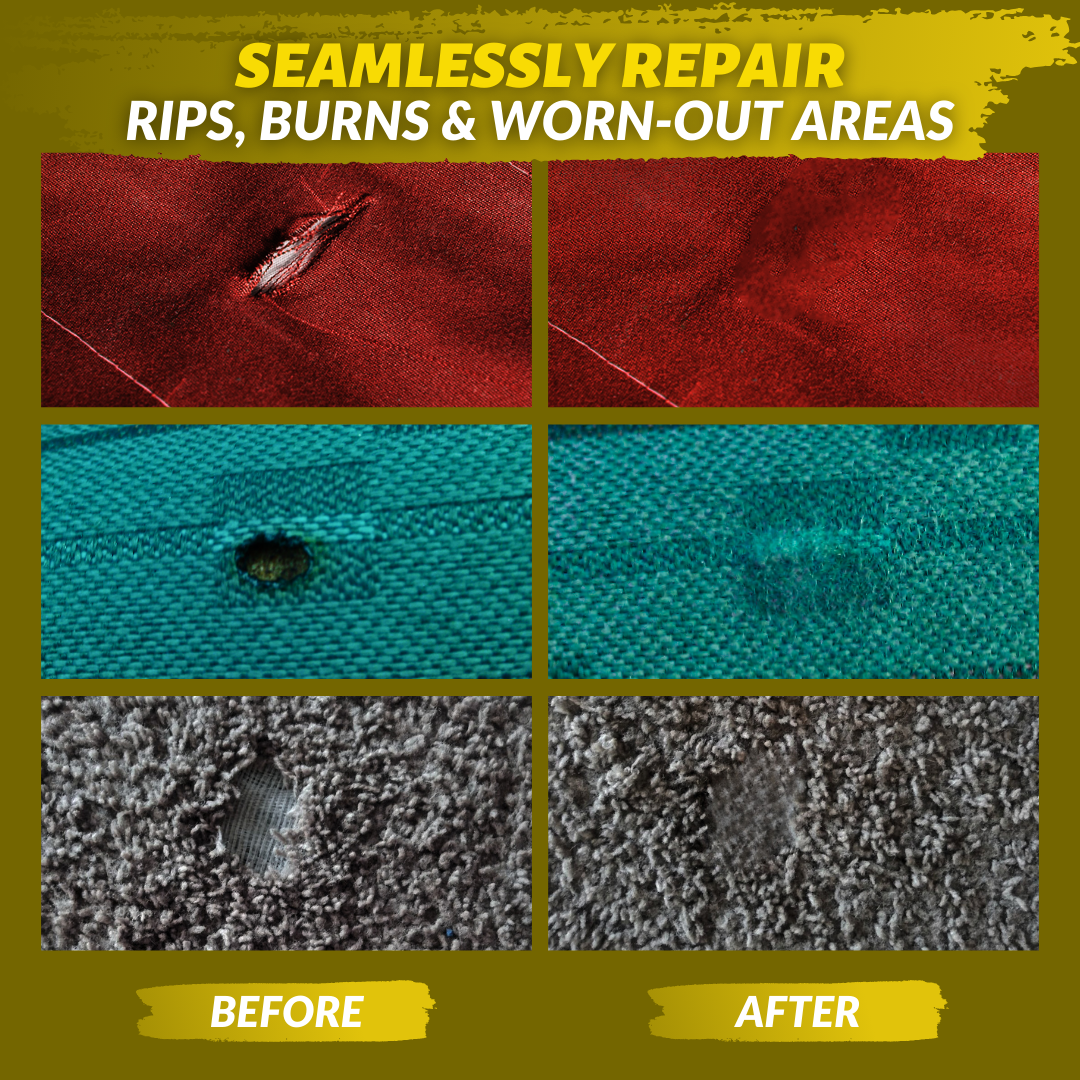
A burn mark on a car seat can be unsightly and make your car uncomfortable to sit in. But with the Coconix Fabric and Carpet Repair Kit, you can fix that burn mark and have your car seat looking like new again. So, grab your kit and let's get started on this car seat repair adventure!

How much does it cost to fix a burn mark on a car seat?

Professional car seat repair services can cost hundreds of dollars, depending on the extent of the damage and the type of material. This can also involve taking the car to a repair shop, waiting for the repair to be completed, and incurring additional costs for transportation and rental cars.

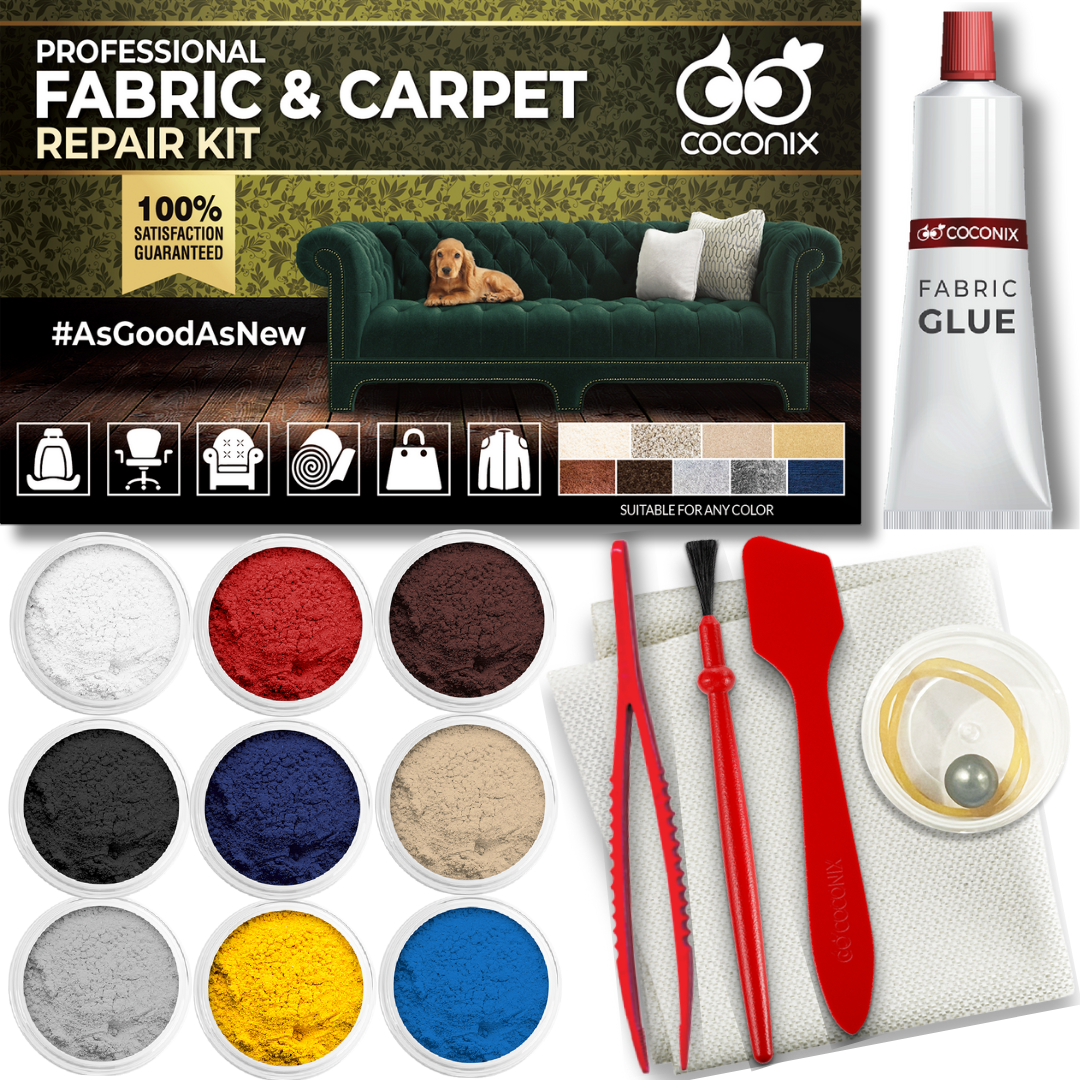
Coconix Fabric and Carpet Repair Kit

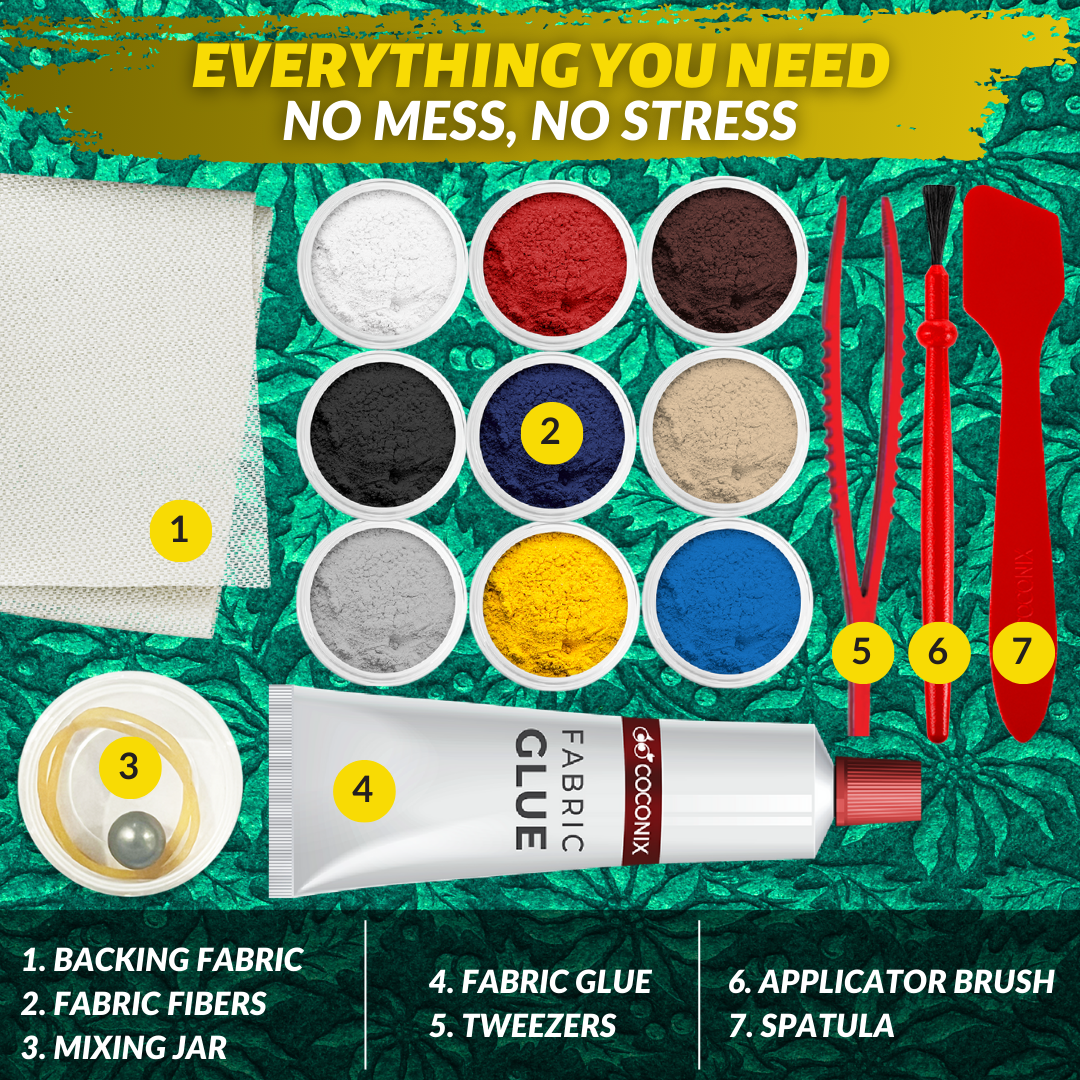
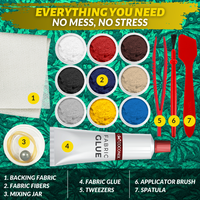
However, with the Coconix Fabric and Carpet Repair Kit, you can easily fix a burn mark on your car seat in the comfort of your own home, without the need for professional services or the added costs. The kit provides everything you need to complete the repair, including high-quality color compounds, a heat cure tool, and detailed instructions to guide you through the repair process.

By using the Coconix Fabric and Carpet Repair Kit, you can save money and time while still achieving professional-quality results. Plus, you'll have the satisfaction of knowing that you fixed your car seat yourself, and you'll be able to enjoy your newly restored car seat in no time.

Difficulty:

This repair process is considered to be easy, as long as you take your time and follow the instructions carefully.

Time Required:

The time required for this repair will depend on the size and severity of the burn mark on your car seat. In general, it can take anywhere from a few hours to a full day. But trust us, it's worth the wait to have your car seat looking like new again.

Coconix Fabric and Carpet Repair Kit

Cleaning solution (such as a household cleaner)

Scissors

Cotton balls or cotton wadding (if padding is missing)

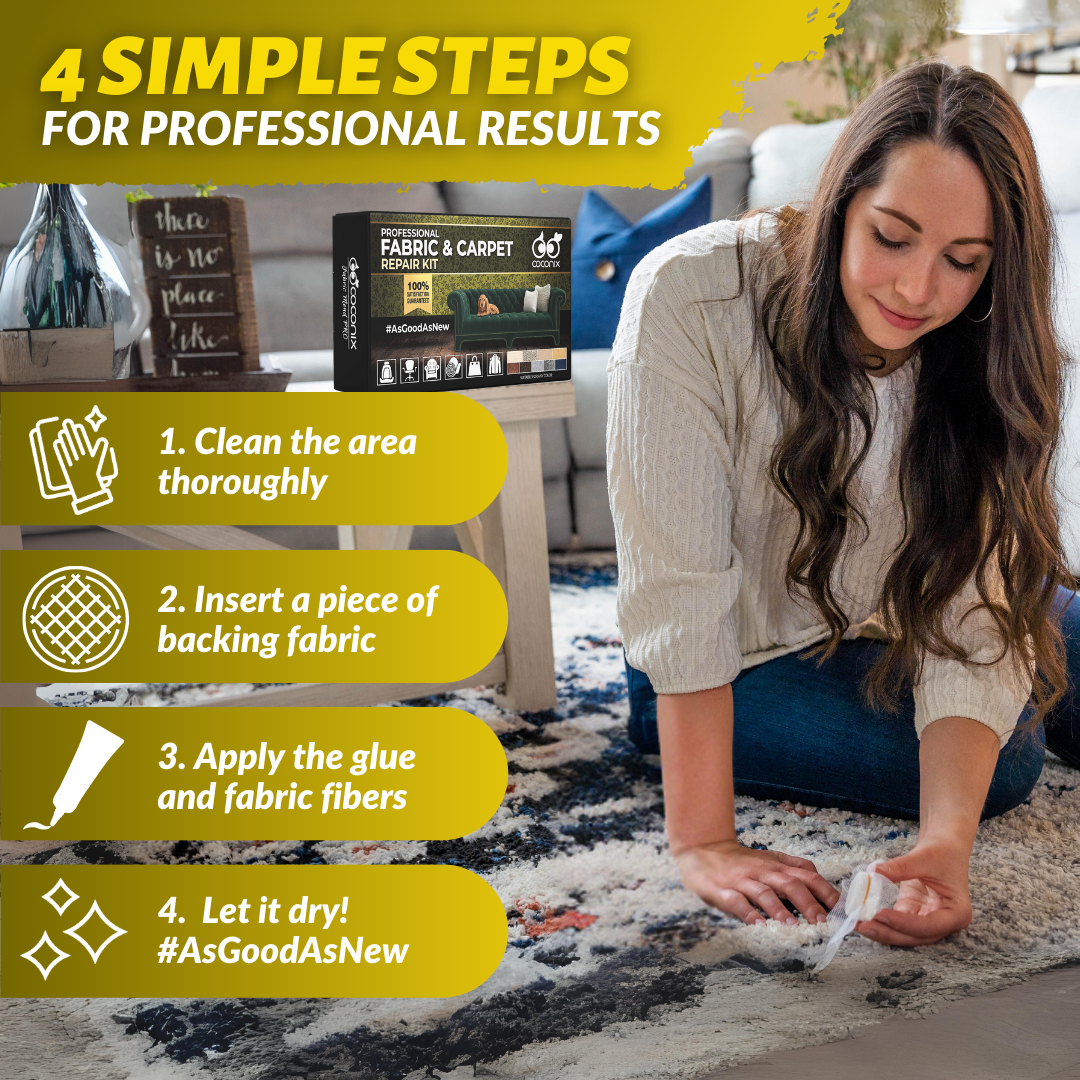
Step 1

Preparing the Area

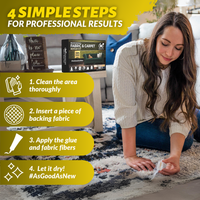
  • Prepare the damaged area on your car seat by carefully trimming any loose threads or burn marks.
  • Clean the area with a cleaning solution and a cloth.
  • If padding is missing from the area you are repairing and the area under the damage is indented, insert cotton balls or cotton wadding and spread it evenly.

Step 2

Adding Backing Fabric (for larger holes)

  • For holes larger than 1/4 of an inch, cut a piece of backing fabric with rounded edges, slightly larger than the damaged area.
  • Insert it into the hole with the spatula provided in the kit.

Step 3

Mixing the Repair Fibers

  • In the mixing jar, add the matching color fibers and the metal ball.
  • Attach the lid and shake the jar for at least 30 seconds.
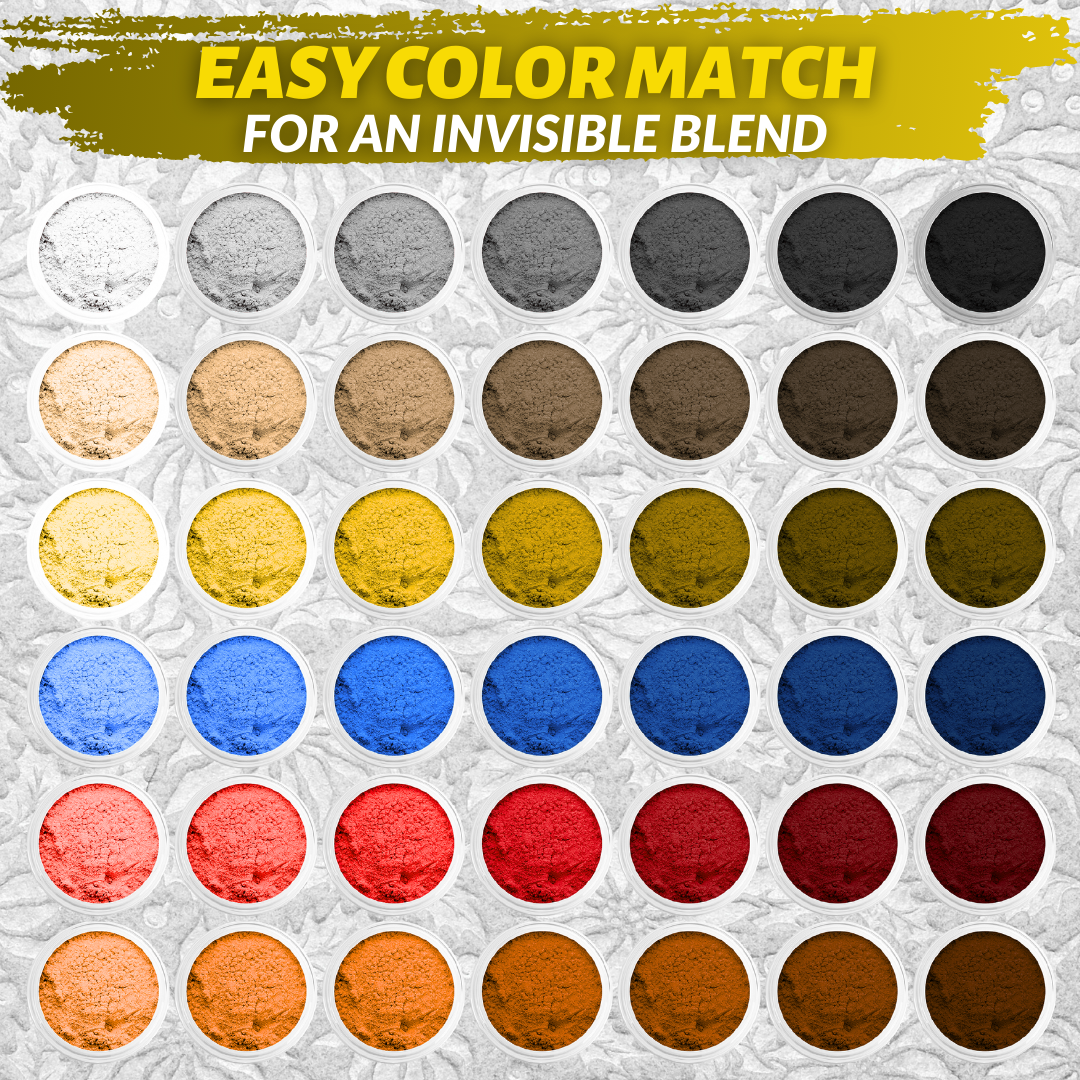
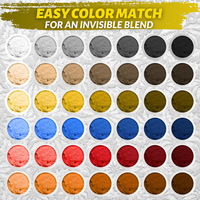
  • If your repair requires a custom color, refer to the Color Mixing Guide in the kit to match the color and prepare the mixture using the empty mixing jar provided.
  • Test your mixture by placing a small amount of the fiber mixture on the repair area with the tweezers.
  • Keep on adjusting your mixture until you get the perfect match. Be patient and make small adjustments until the color matches just right.

Step 4

Applying the Repair Glue

  • Apply the glue to the burn mark on your car seat, under and along the edges, working from the outside toward the center to avoid air bubbles.
  • Fill the damaged area as evenly as possible.
  • Apply a thin layer of glue around the damage to blend in the repair as well.

Step 5

Adding Fibers

  • Take off the lid of the jar and remove the metal ball. Secure the piece of mesh on top of the jar with the rubber band and use this as a sieve.
  • Hold the mixing jar upside down above the adhesive and gently tap the mixing jar. This will gradually sift the fibers over the adhesive. Cover the adhesive completely with the fabric fibers.

Step 6

Finishing the Repair

  • Gently pack down the fibers with the spatula. Duplicate any fabric patterns such as lines or swirls with the spatula on your car seat.
  • Allow 24 hours for it to dry. Once the fabric glue has dried fully, blow off any excess fibers.
  • Use tweezers to remove any stray fibers that may have stuck to the surrounding fabric.

Step 7

Finishing Touches

  • Use a clean cloth and a small amount of cleaning solution to gently wipe down the repaired area and blend it in with the rest of the car seat.
  • If the repaired area gets a lot of wear and tear, you can protect it by spraying a clear hairspray over the area.

Step 8

Maintenance

  • Wipe the seat down with a damp cloth or fabric cleaner every few weeks to remove dust and dirt.
  • Avoid exposing it to direct sunlight or high heat for long periods of time.
  • Use a car seat cover or a towel to protect the seat from future burn marks.
  • Avoid smoking or any other activity that may cause burn marks in your car.

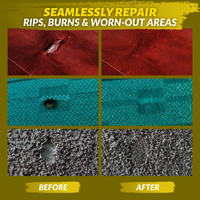
And there you have it! You've just fixed that burn mark on your car seat and it's looking as good as new. Give yourself a pat on the back, and give your car a pat on the back for being such a good ride. Your car seat is now ready for more road trips and adventures. Enjoy! And don't forget to contact Coconix repair experts if you have any questions or concerns.

One Repair Leads to Another

Coconix is the go-to brand for all your household repair needs. They offer a comprehensive range of repair kits, including the Fabric and Carpet Repair Kit, the Floor and Furniture Repair Kit, and the Leather and Vinyl Repair Kit.

If you're looking to repair scratches, dings, or other damage to your hard surface flooring or furniture, the Floor and Furniture Repair Kit is the solution you need. With a variety of colors to match your finish and easy-to-use tools, you can restore your floors and furniture to their former glory. Save yourself the cost of replacements and give your home a new lease of life.

The Leather and Vinyl Repair Kit is perfect for fixing tears, cuts, and scratches on your leather and vinyl surfaces. With a variety of colors to match the color of your leather or vinyl and user-friendly tools, you can restore your surfaces to their original condition. No need for costly replacements when you can make repairs with Coconix.

These repair kits are suitable for both professionals and DIY enthusiasts, and even for those without prior repair experience. They offer a cost-effective solution for homeowners, renters, and professionals who want to keep their space looking great. No matter whether you need to repair a tear in your leather couch, a scratch on your hardwood floor, or a stain on your carpet, Coconix has the perfect kit for the job.

See what people are saying!

Works great!

There were some cigarette burns in a used Nissan Titan I picked up. The repair was pretty easy. Color matching is good as well as the process to apply. I think the color matching went ok so didn’t take advantage of the free support they provide. I’d recommend this kit without hesitation.