How to fix a burned velvet chair armrest?
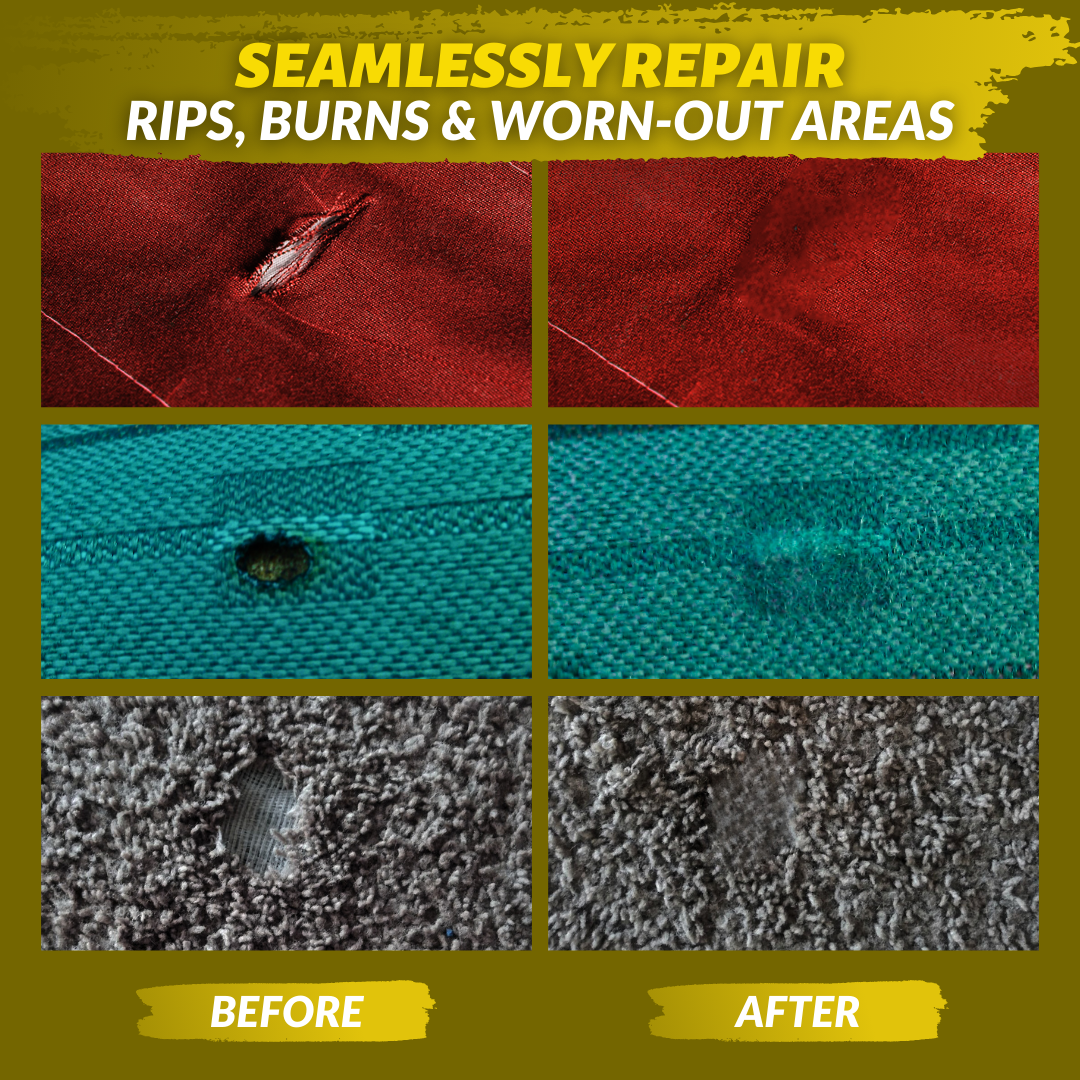
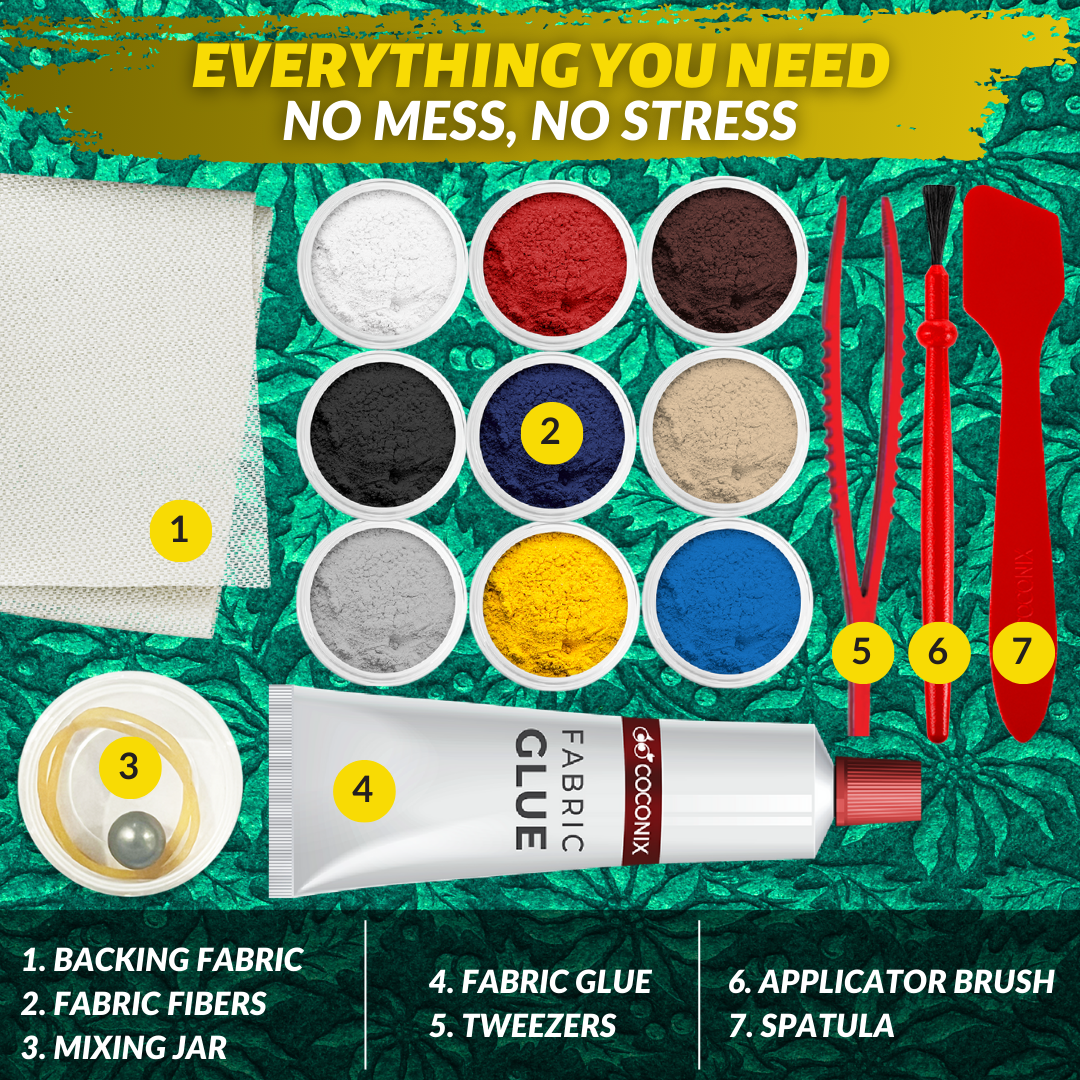
A burn mark on a velvet chair armrest can seem like a permanent blemish, but with the right tools and techniques, it doesn’t have to be. Burns can occur from accidental contact with hot objects, leaving an unsightly discoloration or even a hole in the fabric. Left untreated, these burns can worsen, making the chair less appealing and potentially compromising the integrity of the material. Repairing a burned armrest restores both its appearance and functionality, ensuring the chair remains a stylish and comfortable addition to your home or office. With a little patience and the right guidance, you can make the damage vanish completely.