Repair guide
How to repair deep scratches in a wooden dresser?
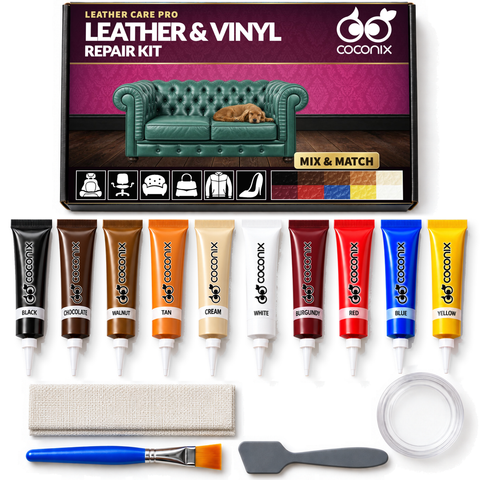
Deep scratches or gouges in a wooden dresser can cut through the finish and leave channels in the top, drawer front or side panel. The Coconix Floor & Furniture Repair Kit fills those grooves in thin layers, restores the surrounding color and lets you paint the original grain across the leveled repair.
Empty or stabilize the dresser and remove drawers if the damaged panel moves. Clean and dry the full area, trace every groove, test the mixed shade and build depth gradually. Wipe compound off the undamaged finish and let each layer dry completely. Light sanding is optional only on a finish that can safely accept it. Use furniture restoration for lifting veneer, a split panel, active moisture or rot, failed joints, frame damage or broken drawer runners.
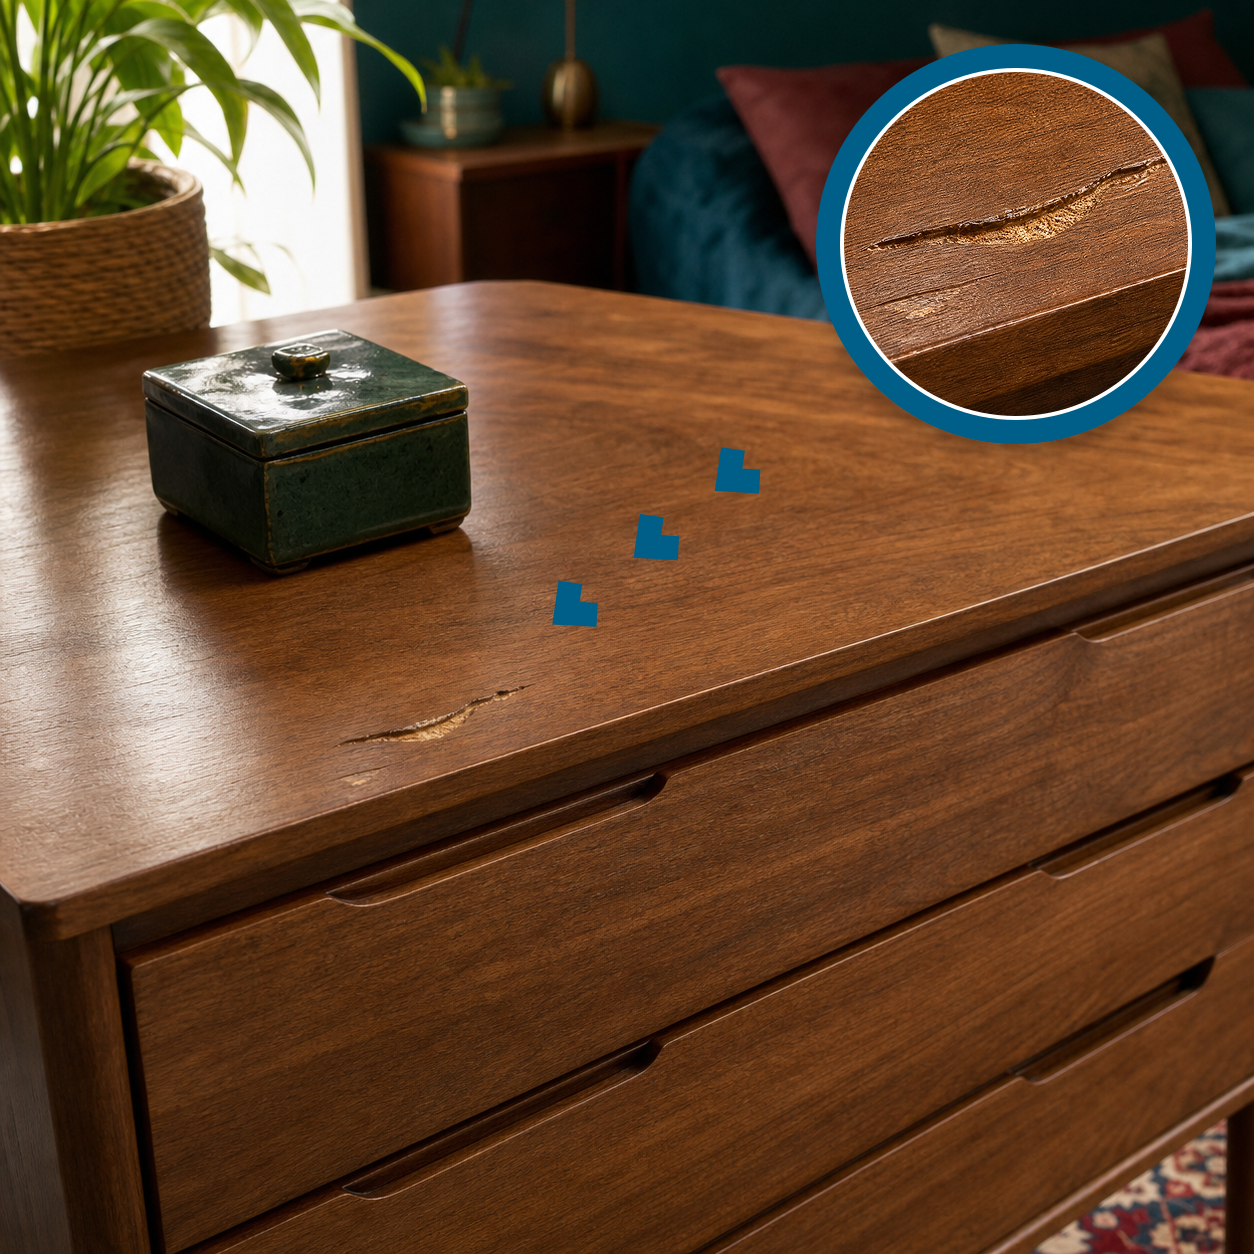
Repair at a glance: scratches on a wooden dresser
- Material
- Finished wood
- Damage
- scratches
- Item
- wooden dresser
Repair cost
How much does it cost to repair scratches on a wooden dresser?
Professional repair estimates by currency
USD
United States dollar
- Smaller repair$120–$300
- More extensive repair$600+
EUR
Euro
- Smaller repair€100–€260
- More extensive repair€510+
GBP
British pound
- Smaller repair£100–£250
- More extensive repair£500+
What does professional repair cost?
What does a DIY repair cost?
$19.95
The kit price shown here is live. One kit can often cover more than one small repair.
See the repair kitWhat changes the repair cost?
- The size, depth and severity of the damage
- The material and whether reinforcement is needed
- The color, grain, texture and finish-matching work
- Local labor rates and whether the item must be transported
Professional prices are indicative ranges from the approved article content and can vary by repairer, location and condition. Request a local quote for an exact comparison.
Difficulty
How difficult is it to repair scratches on a wooden dresser?
Time required
How long does it take to repair scratches on a wooden dresser?
When scratches on a wooden dresser can be repaired at home
When to call a professional for scratches on a wooden dresser
Prepare before you start
Materials needed to repair scratches on a wooden dresser
-

Coconix Floor & Furniture Repair Kits
-

Cleaning Cloth
-

Sanding Paper (optional)


Before repairing scratches on a wooden dresser
Watch how to repair scratches on a wooden dresser
The written procedure below covers the repair steps shown in the video.
Detailed procedure
How to repair scratches on a wooden dresser: step by step
-

Step 1
Preparing the Area
- Start by brushing away any loose dirt or debris from the damaged area of your wooden dresser. Clean the surrounding surface thoroughly to eliminate any dust or residue that could interfere with the repair.
- Use a damp cloth to carefully wipe the area, ensuring it is free from grease or grime, and allow it to dry fully before moving forward.
-

Step 2
Mixing and Matching the Color
- Consult the Color Mixing Guide included in your kit to match the ideal shade for your wooden dresser. Utilize the empty mixing jar provided to blend the colors precisely.
- Make sure to mix thoroughly to achieve a uniform, consistent tone before applying it to your wooden dresser for a flawless finish.
-

Step 3
Applying the Repair Compound
- Spread the repair compound evenly over the damaged area of your wooden dresser, beginning at the edges of the scratches and working inward to avoid trapping air bubbles.
- For larger scratches, use the spatula to ensure smooth coverage, and use the brush for precise touch-ups and smaller applications.
-

Step 4
Smoothing the Surface
- Level the surface of your wooden dresser by using smooth, even strokes to create a seamless finish that blends naturally with the surrounding area.
- Quickly wipe away any excess compound with a clean paper towel to prevent residue from settling on the undamaged portions of your wooden dresser.
-

Step 5
Drying and Additional Layers
- Let the repair compound on your wooden dresser dry fully for several hours, making sure it is completely dry and no longer tacky to the touch.
- If needed, add more layers to gradually fill in the scratches, ensuring it becomes level with the surrounding surface. Allow each layer to dry completely before applying the next for a smooth and flawless finish.
-

Step 6
Adding Texture
- For wooden dresser with unique grain patterns, designs, or textures, use a fine brush to replicate these details and achieve a natural look.
- Apply deep tones such as Walnut, Mahogany, or Black to mirror the original grain, ensuring the repaired section harmonizes seamlessly with the surrounding surface.
-

Step 7
Finishing Touches
- Inspect the repaired area on your wooden dresser only after the compound has fully dried.
- If the original surface and finish can safely accept light sanding, use fine-grit sandpaper with gentle, even pressure on the repair until it is level.
- Skip sanding on laminate, delicate veneer, thin factory finishes or any surface whose manufacturer advises against it. In those cases, level the compound carefully during application and remove excess before it dries.
- Stop immediately if the surrounding finish begins to dull, lift or change texture.


Protect the result
How to care for a wooden dresser after repairing scratches
- Keep the repaired surface dry and out of use until every layer has fully cured.
- Clean with a finish-compatible, nonabrasive product and wipe spills promptly.
- Use coasters, pads, furniture glides or floor protectors to reduce recurring impact, moisture and abrasion.
- Apply wax, polish or sealant only when the furniture or flooring manufacturer confirms compatibility with the existing finish.
Aftercare
Troubleshooting
Why does a wooden-furniture repair look too light, dark or flat?
The mix was judged while wet or under different light, the undertone is off, or the repair has one flat color without the darker or lighter grain found nearby.
Compare the fully dry repair with a clean, undamaged nearby area in the furniture's normal light. Adjust one color in a small amount and dry-test again. When the base tone matches, use the approved wood method to add restrained grain detail that follows the surrounding direction, then judge the result at normal viewing distance.
Why does a wooden-furniture repair look raised, sunken or sharply outlined?
Too much filler, insufficient fill in a stable void, shrinkage before full cure, an abrupt color boundary or missing grain detail is catching the light.
Correct only the condition you can confirm. For a stable low spot, return to the matching fill method and build only to the surrounding level. For a visible outline, match the dry base color first, keep the blend boundary small and recreate the nearby grain. Alter a cured raised area only when the approved method and original finish safely permit it.
Request product-specific guidance before sanding or scraping delicate veneer, laminate wear layers or thin factory finishes.
What should I do if wooden-furniture damage returns or a joint keeps moving?
A loose joint, repeated flexing or impact, active moisture, an unsupported deep void, incomplete curing or renewed pest activity is changing the repaired area.
Inspect the complete damaged area while the furniture is used normally. Stabilize a loose joint or moisture source first. When the surrounding wood is sound and stationary, rebuild localized missing material with the kit's epoxy-putty method, allow it to cure, then restore the matched base color and grain. Begin insect-hole repair only after the infestation is confirmed inactive.
Use qualified furniture repair when a load-bearing joint, frame or other structural part remains loose or unsafe after the cause is identified.
Why did the repair color change as it dried?
The mixture was judged while wet, the test layer was too thick, or the surface detail and lighting changed the apparent result.
Keep the remaining mixture. Make one very small correction, mix thoroughly and test again. If the base color is correct but the repair still stands out, recreate the required texture, grain, pattern or pile instead of changing the color again.
Stop before visible application if repeated small tests do not match; send Coconix natural-light photos of the whole item, the damage and a nearby undamaged area.
Frequently asked questions
What wooden-furniture damage can the Coconix Floor & Furniture Repair Kit repair?
How do I match the color and grain of a wooden-furniture repair?
Should I judge a Coconix repair color while it is wet or dry?
Why is drying time part of a successful Coconix repair?

Customer repair story
Flawless Fix!
That gouge was my nemesis—until Coconix! My dresser looks showroom-new, and the repair process was so satisfying!
Individual repair results vary with the damage, material, preparation and application.
Recommended for this method
Best Coconix kit to repair scratches on a wooden dresser
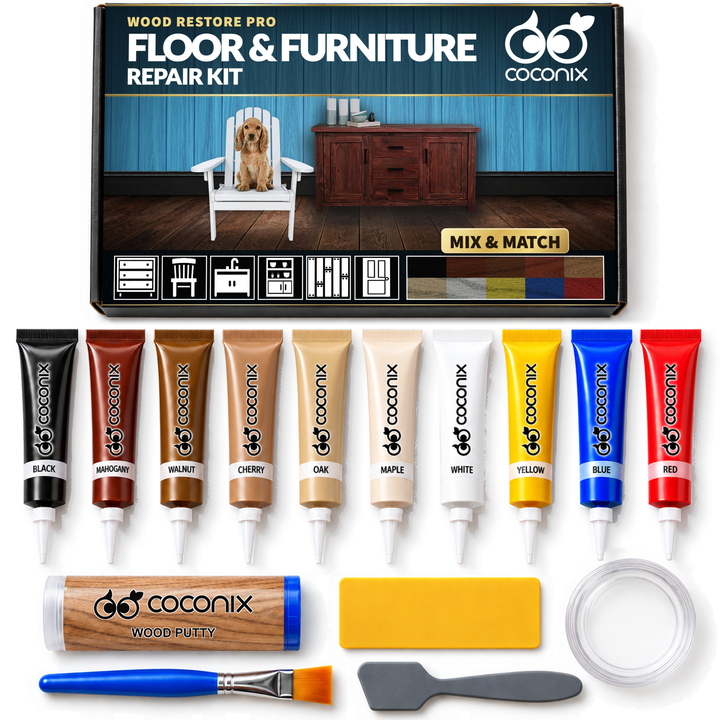
Floor & Furniture Repair Kit - Mix & Match Any Color
$19.95
Repair damage on wood floors and furniture instead of replacing the whole surface. The Coconix Floor & Furniture Repair Kit pairs kneadable epoxy wood putty with 10 mixable...
More repair possibilities