How much does it cost to fix a pet-damaged carpet?
Professional carpet repairs can be costly, especially if the damage is extensive or in a high-traffic area. You may expect to pay hundreds of dollars for a professional repair, especially if the carpet has to be lifted or replaced in order to fix the damage. This not only takes time and money, but it also requires a certain level of skill and experience to complete.
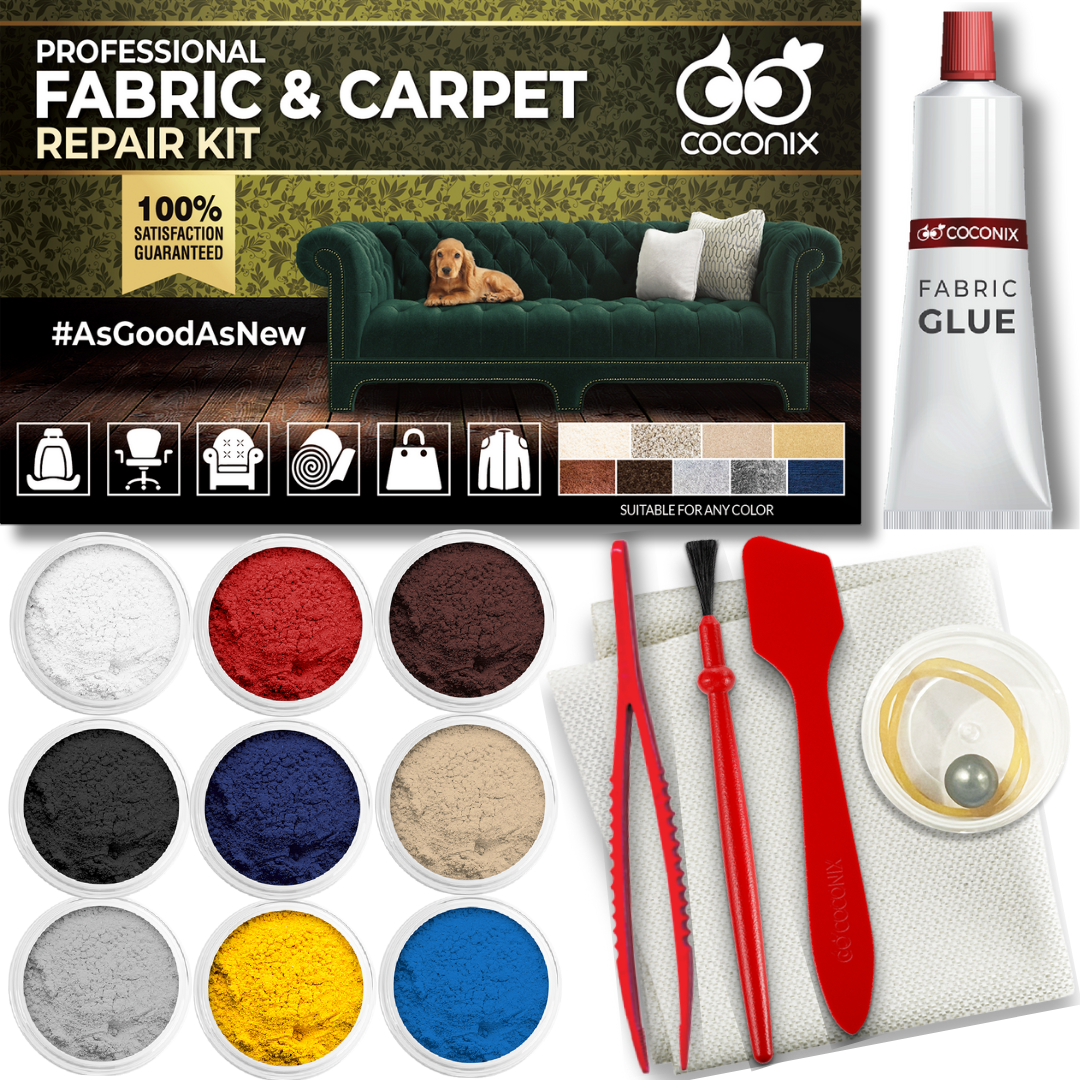
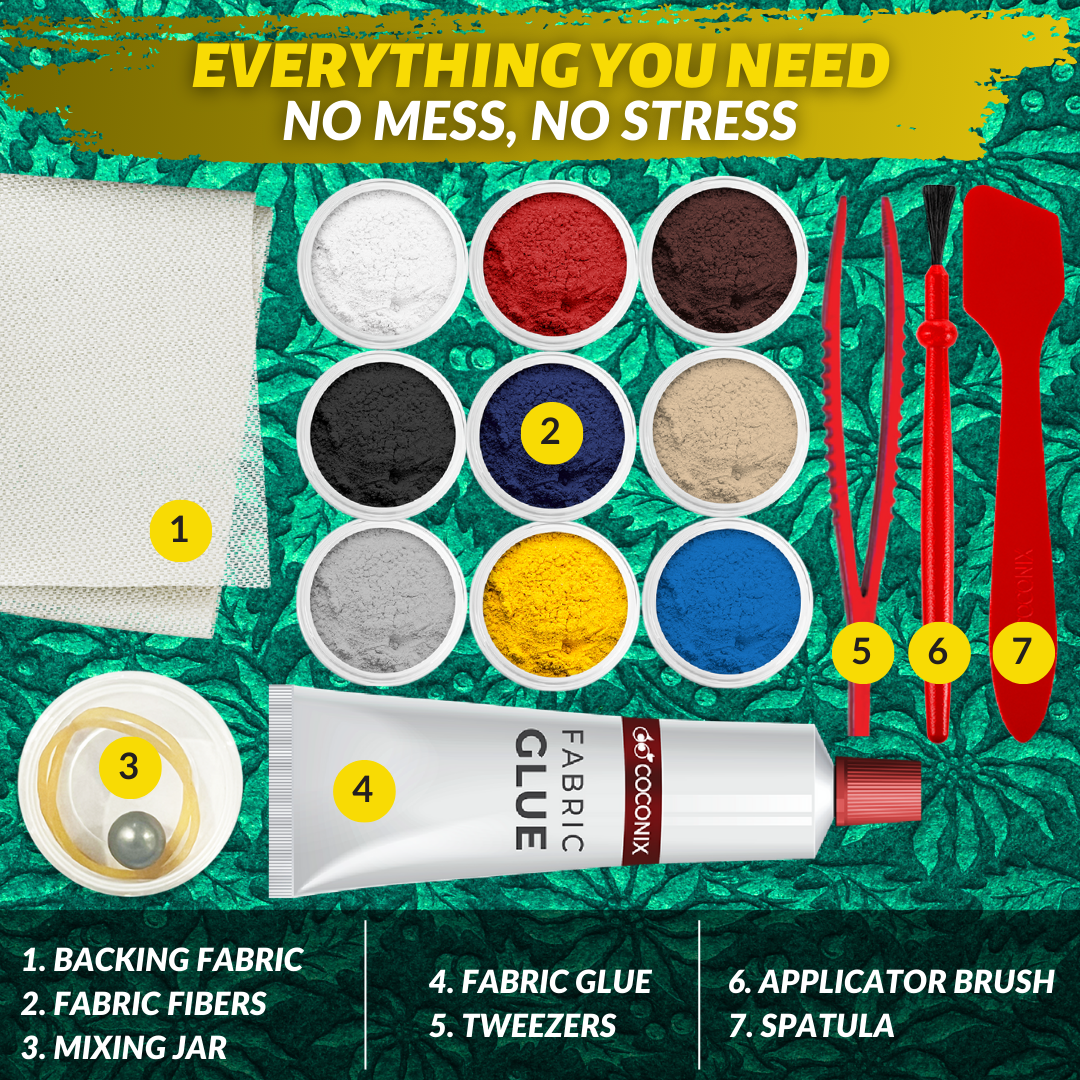
Coconix Fabric and Carpet Repair Kit
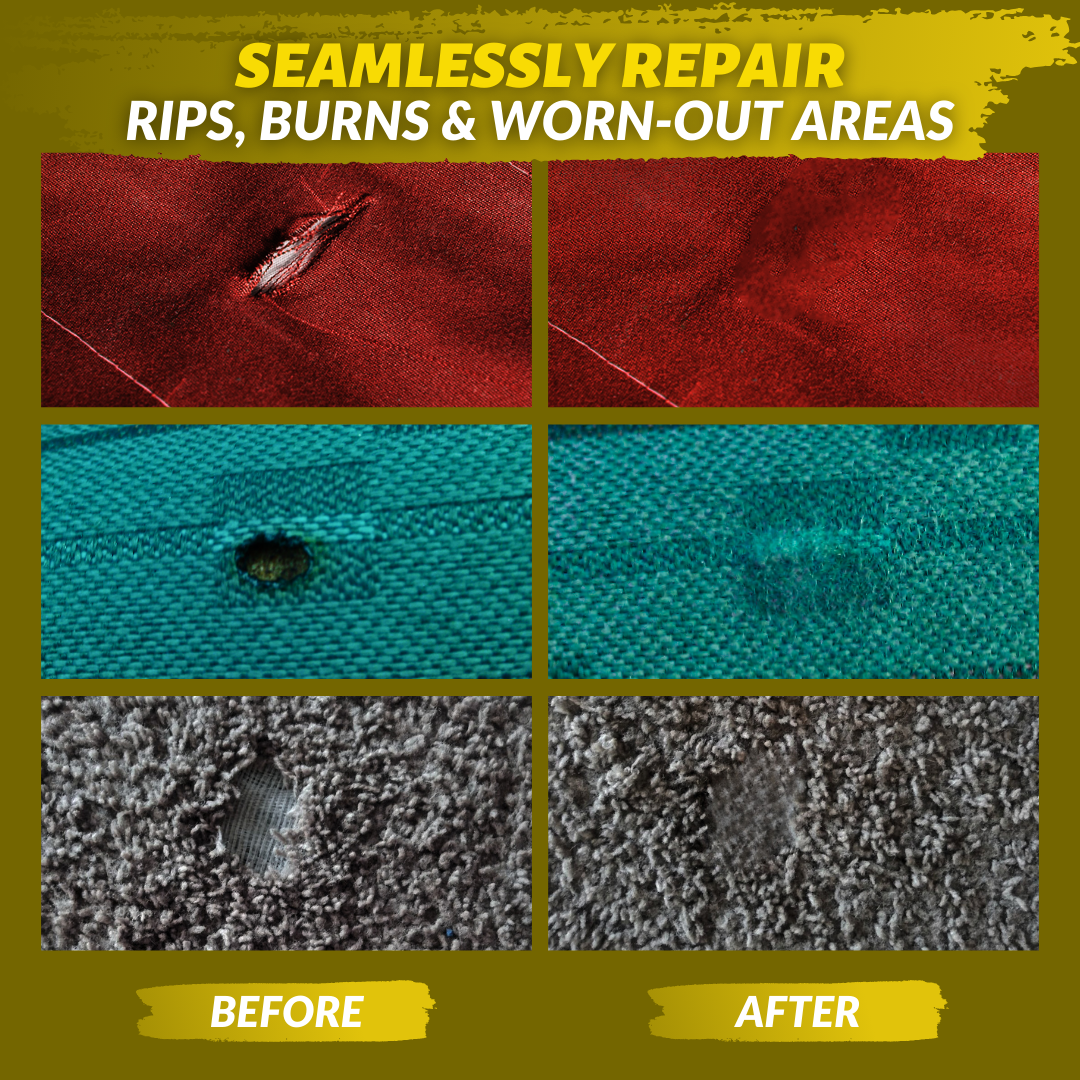
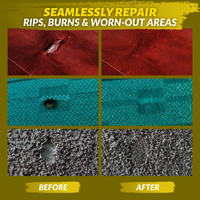
On the other hand, the Coconix Fabric and Carpet Repair Kit is a more affordable option that allows you to repair the damage on your own. The kit is designed to be user-friendly, so you can make the repairs without the need for special tools or skills. You can easily follow the instructions and restore the appearance of your carpet in a fraction of the time it would take for a professional repair.
Using theCoconix Fabric and Carpet Repair Kit is a cost-effective way to fix pet-damaged carpets. Not only does it save you money, but it also saves you time and the hassle of having to take the carpet to a professional for repairs. Try the Coconix Fabric and Carpet Repair Kit today and restore the beauty of your carpet with ease.
Difficulty:
This repair process is considered to be a breeze, as long as you take your time and follow the instructions carefully. (And bribe your pet with treats to stay away from the repair area)
Time Required:
The time required for this repair will depend on the size and severity of the pet-damaged areas on your carpet. In general, it can take anywhere from a few hours to a full day. But trust us, it's worth the wait to have your carpet looking like new again. (And your pet looking guilty)
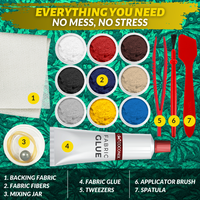
Scissors or utility knife (if necessary)
Treats (for bribing your pet to stay away from the repair area)
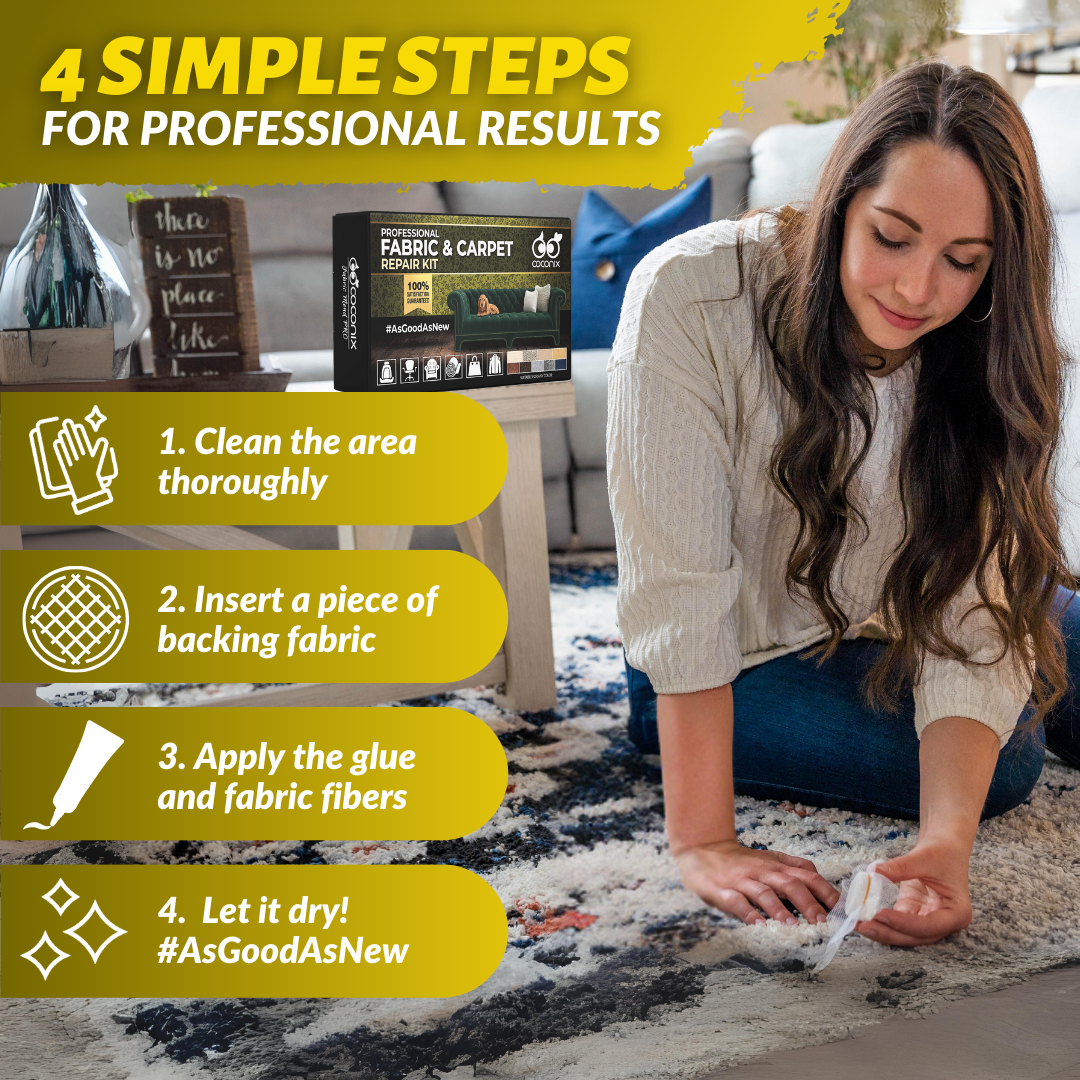
Step 1
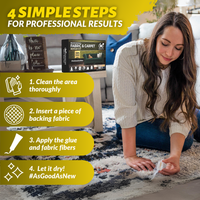
Preparing the Damaged Area
- Prepare the damaged area on your carpet by carefully trimming any excess threads or burn marks.
- Clean the area with a cleaning solution and a cloth.
- Bribe your pet with treats to stay away from the repair area.
Step 2
Mixing the Repair Fibers
- In the mixing jar, add the matching color fibers and the metal ball.
- Attach the lid and shake the jar for at least 30 seconds.
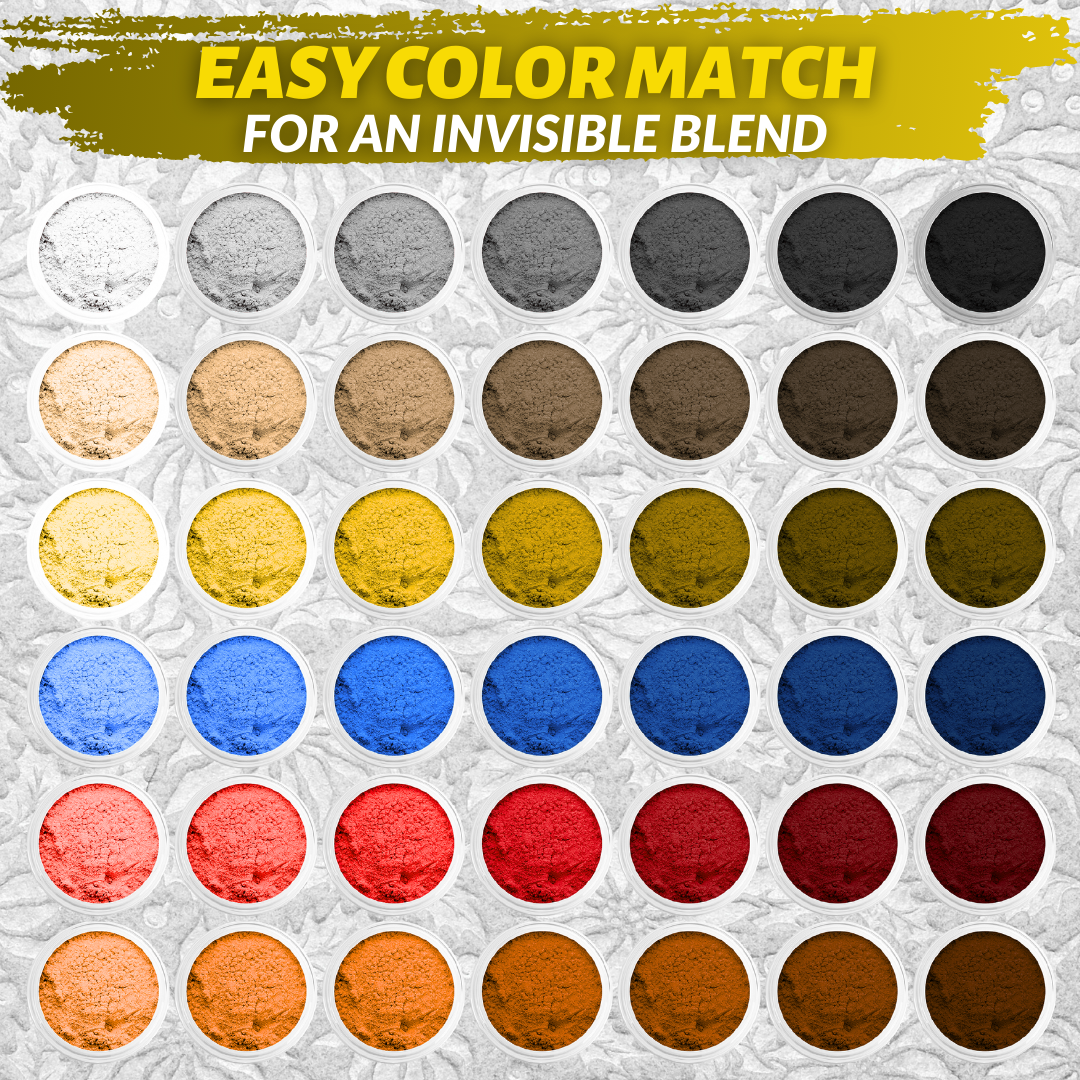
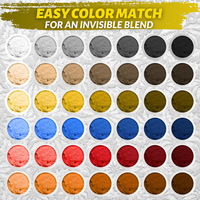
- If your repair requires a custom color, refer to the Color Mixing Guide in the kit to match the color and prepare the mixture using the empty mixing jar provided.
Step 3
Applying the Repair Glue
- Apply the glue to the damaged area on your carpet, under and along the edges, working from the outside toward the center to avoid air bubbles. Fill the damaged area as evenly as possible. Apply a thin layer of glue around the damage to blend in the repair as well.
- Keep bribing your pet with treats to stay away from the repair area.
Step 4
Adding Fibers
- Take off the lid of the jar and remove the metal ball. Secure the piece of mesh on top of the jar with the rubber band and use this as a sieve.
- Hold the mixing jar upside down above the adhesive and gently tap the mixing jar. This will gradually sift the fibers over the adhesive. Cover the adhesive completely with the fabric fibers.
- Keep bribing your pet with treats to stay away from the repair area.
Step 5
Finishing the Repair
- Gently pack down the fibers with the spatula. Duplicate any fabric patterns such as lines or swirls with the spatula on your carpet.
- Allow 24 hours for it to dry. Once the fabric glue has dried fully, blow off any excess fibers.
- Use tweezers to remove any loose fibers that may still stick out from the repair.
- Keep bribing your pet with treats to stay away from the repair area.
Step 6
Maintenance
- To ensure that your repair lasts as long as possible, it's important to maintain the carpet.
- Vacuum the repaired area regularly to remove any dirt or debris that may have accumulated.
- Avoid using harsh chemicals or abrasives on the repaired area, as they may damage the repair and undo all of your hard work.
- If your pet continues to damage your carpet in the same area, consider using a protective cover or placing a throw blanket over the area to prevent future damage.
And there you have it! You've just fixed that pet-damaged area on your carpet and it's looking as good as new. Give yourself a pat on the back (and your pet a treat) for a job well done. Your carpet is now ready for more playtime and belly rubs. Enjoy! And don't forget to keep bribing your pet with treats to stay away from the repair area.
One Repair Leads to Another
Coconix provides an extensive collection of repair kits to aid you in bringing new life to various surfaces and materials in your home. In addition to the Fabric and Carpet Repair Kit, the brand also offers a Floor and Furniture Repair Kit and a Leather and Vinyl Repair Kit.
The Floor and Furniture Repair Kit is an excellent solution for fixing any damages, such as scratches and dings, on hard surfaces like wood and laminate. This kit comes in a variety of colors to match the finish of your flooring or furniture, and its user-friendly tools make it simple to apply the repair material. With this kit, you can rejuvenate your floors and furniture, saving you the cost of replacements.
The Leather and Vinyl Repair Kit is designed to repair tears, cuts, and scratches on leather and vinyl surfaces. This kit also comes in a variety of colors to match the color of your leather or vinyl, and its simple tools make it easy to complete repairs. With this kit, you can restore your leather and vinyl to its original condition, without the need for costly replacements.
These repair kits are suitable for both professional and DIY use, and even those without any prior repair experience can easily use them. They are a cost-effective solution for homeowners, renters, or professionals who want to maintain their space's appearance. So, whether you need to fix a tear in your leather couch, a scratch on your hardwood floor, or a stain on your carpet, Coconix has the perfect kit for the job.