How much does it cost to fix a tear in a microfiber sofa?
The cost of fixing a tear in a microfiber sofa professionally can vary depending on the size and severity of the tear, as well as the location of the sofa. On average, the cost can range from $50 to $150 or more. However, hiring a professional can be expensive, and there is no guarantee that the repair will match the color or texture of your sofa perfectly.
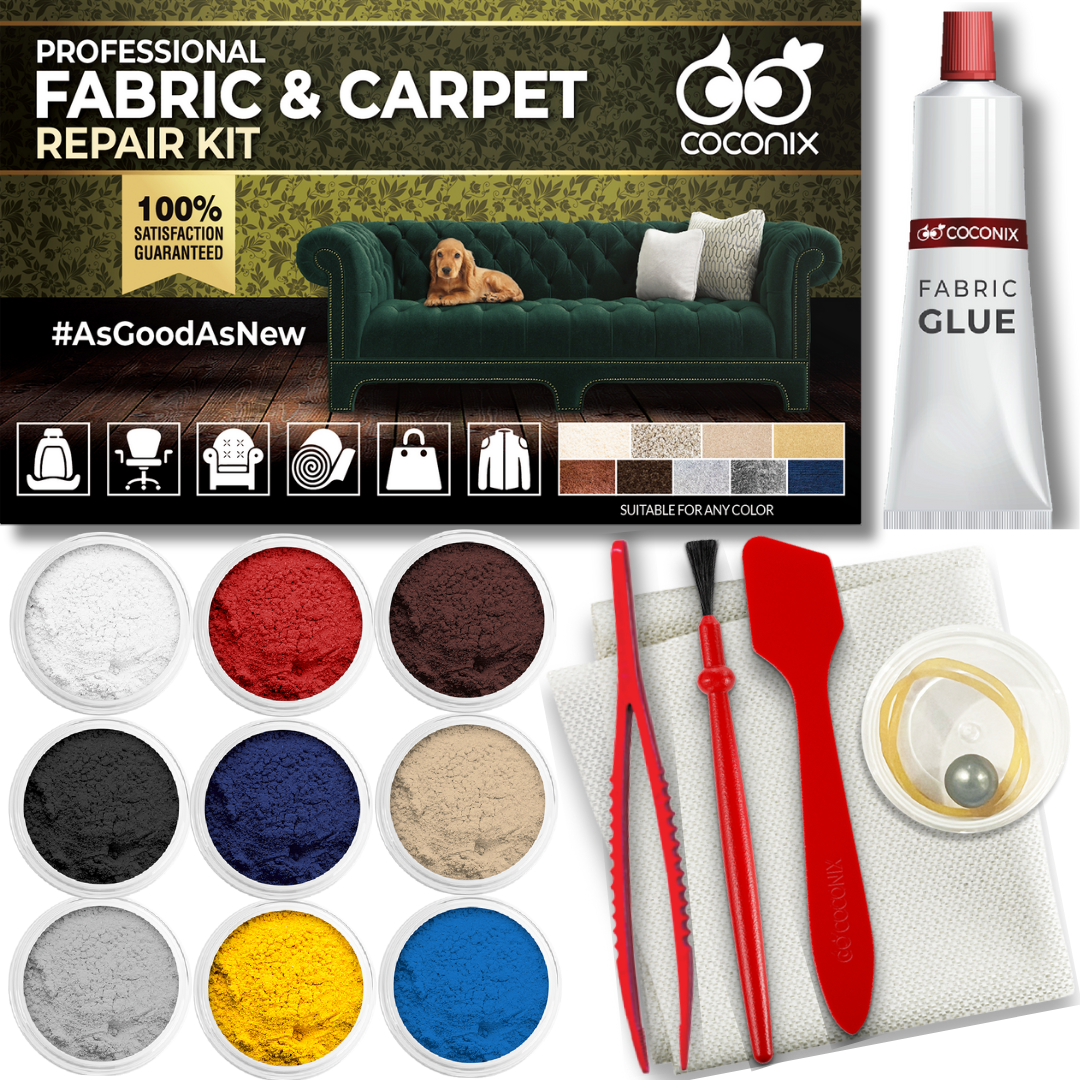
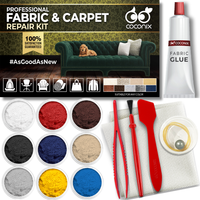
Coconix Fabric and Carpet Repair Kit
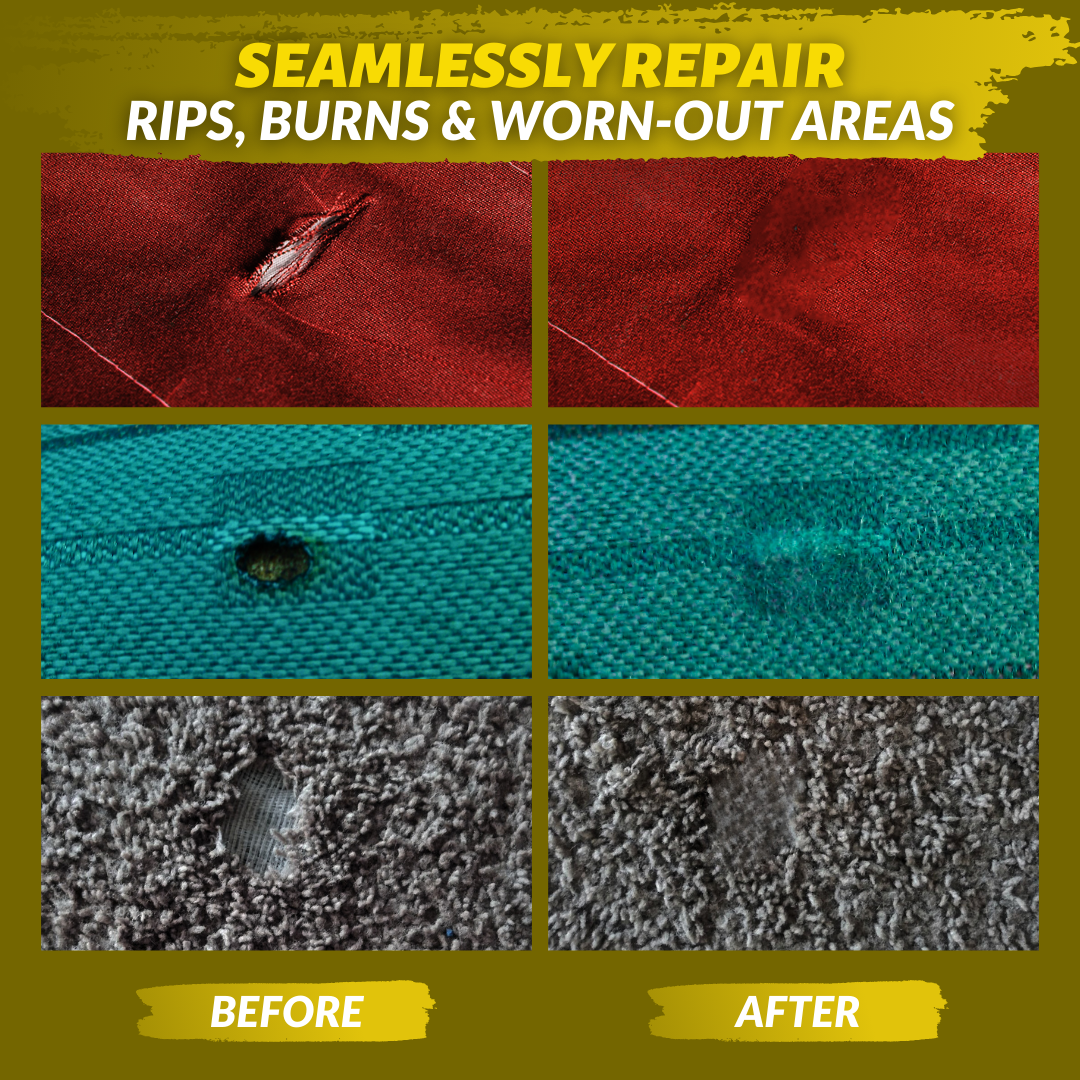
On the other hand, using the Coconix Fabric and Carpet Repair Kit to fix a tear in your microfiber sofa can be a more affordable option. With the kit, you can easily repair the tear yourself, and you have the added benefit of being able to match the color and texture of your sofa perfectly. Plus, you can be sure that the repair will be done to your satisfaction.
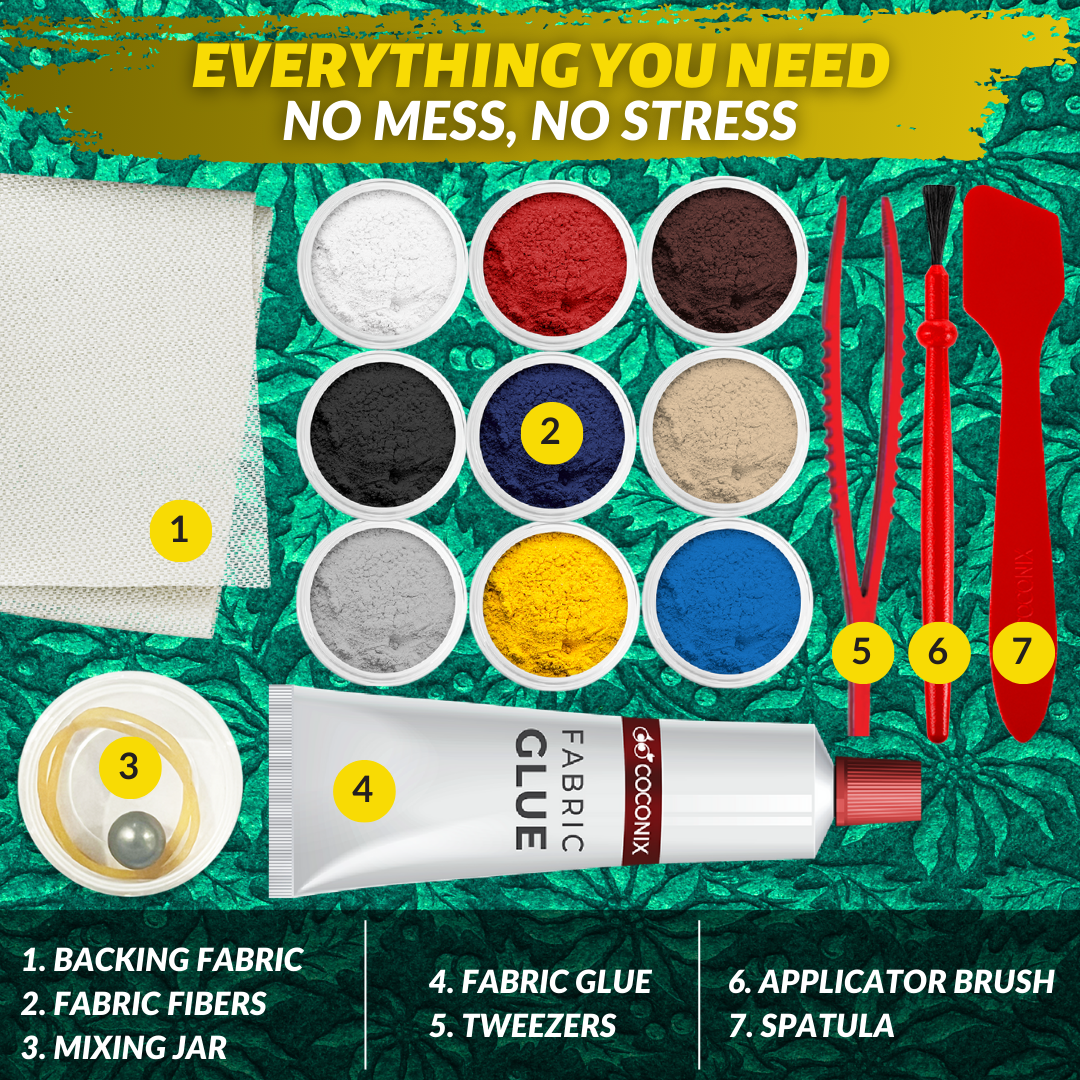
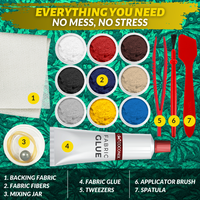
The Coconix Fabric and Carpet Repair Kit comes with everything you need to fix a tear in your microfiber sofa including the repair compound, a mixing jar, a spatula, a small brush, and a color mixing guide. The kit is easy to use and you can follow the instructions carefully to fix the tear in your microfiber sofa. With the Coconix Fabric and Carpet Repair Kit, you can save money and have your sofa looking like new again in no time!
Overall, the cost of fixing a tear in a microfiber sofa professionally can be expensive, but with the Coconix Fabric and Carpet Repair Kit, you can easily fix the tear yourself and save money. Additionally, you can match the color and texture of your sofa perfectly, so that the repair is not noticeable.
Difficulty:
Don't be intimidated, this repair process is considered to be moderately easy. Just make sure to take your time and follow the instructions carefully.
Time Required:
The time required for this repair will depend on the size and severity of the tear on your sofa. In general, it can take anywhere from a few hours to a full day. But trust us, it's worth the wait to have your sofa looking like new again.
Scissors or utility knife (if necessary)
Cotton balls or cotton wadding (if padding is missing)
Step 1
Preparing the Damaged Area
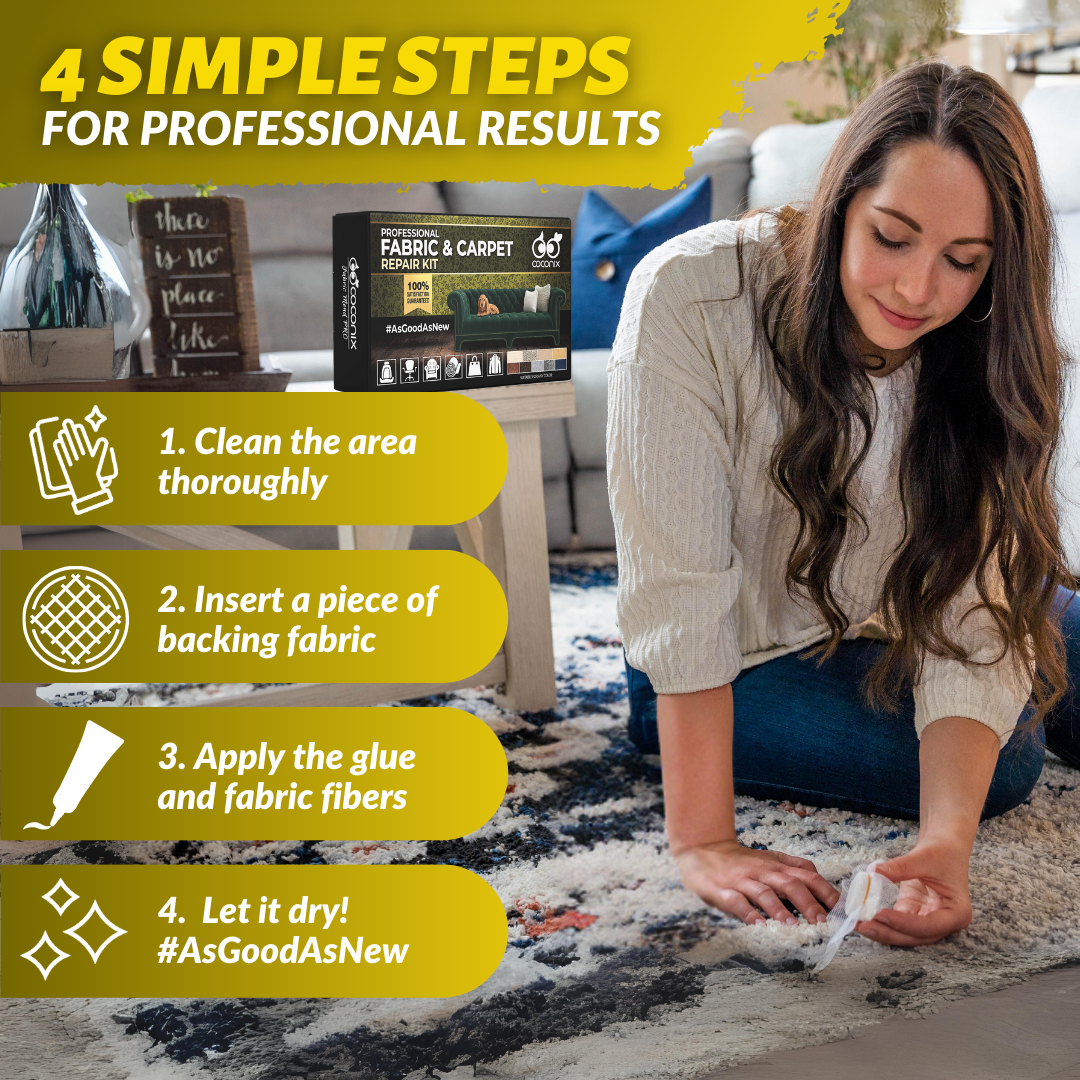
- Prepare the damaged area on your sofa by carefully trimming any excess threads or burn marks.
- Clean the area with a cleaning solution and a cloth.
- If padding is missing from the area you are repairing and the area under the damage is indented, insert cotton balls or cotton wadding and spread it evenly.
Step 2
Adding Backing Fabric (for larger tears)
- For tears larger than 1/4 of an inch, cut a piece of backing fabric with rounded edges, slightly larger than the damaged area.
- Insert it into the tear with the spatula provided in the kit.
- Do not use the backing fabric for repairs smaller than 1/4 of an inch.
Step 3
Mixing the Repair Fibers
- In the mixing jar, add the matching color fibers and the metal ball.
- Attach the lid and shake the jar for at least 30 seconds.
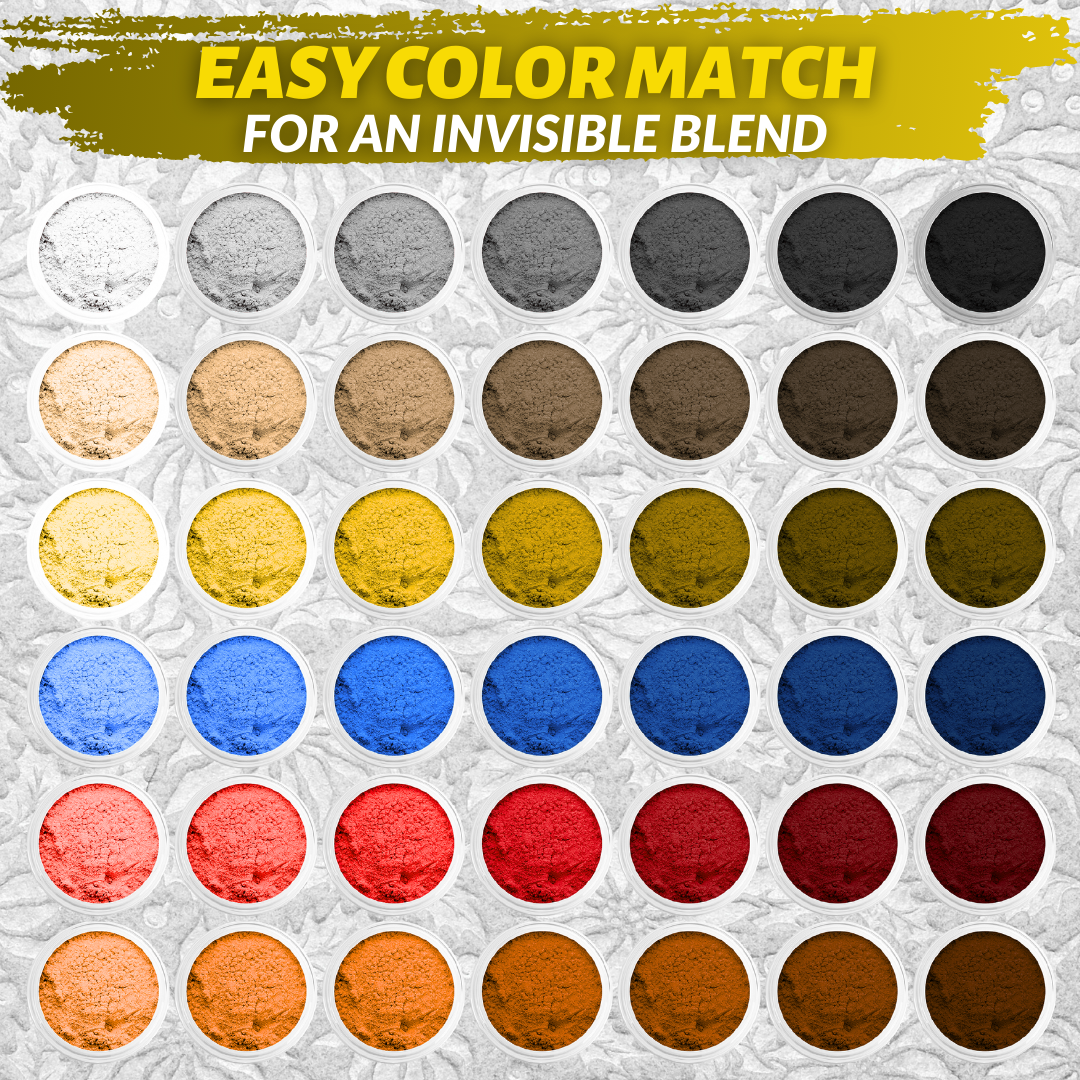
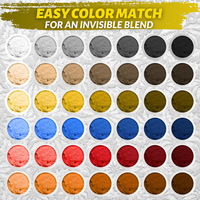
- If your repair requires a custom color, refer to the Color Mixing Guide in the kit to match the color and prepare the mixture using the empty mixing jar provided.
- Test your mixture by placing a small amount of the fiber mixture on the repair area with the tweezers.
- Keep on adjusting your mixture until you get the perfect match. Be patient and make small adjustments until the color matches just right.
Step 4
Applying the Repair Glue
- Apply the glue to the damaged area on your sofa, under and along the edges, working from the outside toward the center to avoid air bubbles. Fill the damaged area as evenly as possible. Apply a thin layer of glue around the damage to blend in the repair as well.
Step 5
Adding Fibers
- Take off the lid of the jar and remove the metal ball. Secure the piece of mesh on top of the jar with the rubber band and use this as a sieve.
- Hold the mixing jar upside down above the adhesive and gently tap the mixing jar. This will gradually sift the fibers over the adhesive. Cover the adhesive completely with the fabric fibers.
Step 6
Finishing the Repair
- Gently pack down the fibers with the spatula. Duplicate any fabric patterns such as lines or swirls with the spatula on your sofa.
- Allow 24 hours for it to dry. Once the fabric glue has dried fully, blow off any excess fibers.
Step 7
Maintenance
- To ensure that your repair lasts as long as possible, it's important to maintain the microfiber fabric of your sofa.
- Use a fabric protector or spray to protect the repaired area from future wear and tear.
- Avoid using harsh chemicals or abrasives on the repaired area, as they may damage the repair and undo all of your hard work.
- Regular vacuuming and spot cleaning with a microfiber cleaning solution will also help to keep your sofa looking like new.
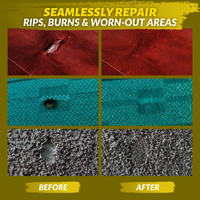
And there you have it! You've just fixed that tear on your microfiber sofa and it's looking as good as new. Give yourself a pat on the back for a job well done. Your sofa is now ready for more relaxing moments. Enjoy! And don't forget to share the before and after pictures of your repair with your friends, and let them know about the Coconix Fabric and Carpet Repair Kit, so they too can fix any damages on their furniture caused by tears. If you have any questions or concerns, don't hesitate to contact Coconix repair experts at coconix.com/support for personalized advice. Happy repairing!
One Repair Leads to Another
Coconix offers a variety of repair kits to help you restore and fix different types of surfaces and materials in your home. Alongside the Fabric and Carpet Repair Kit, they also have the Floor and Furniture Repair Kit and the Leather and Vinyl Repair Kit.
The Floor and Furniture Repair Kit by Coconix is the solution for repairing scratches, dings, and other damages on hard surfaces such as wood and laminate. With a range of colors to match the finish of your flooring or furniture and easy-to-use tools, this kit makes it easy to apply the repair material. This kit can help you revive your floors and furniture, saving you the expense of replacements.
The Leather and Vinyl Repair Kit by Coconix is perfect for fixing tears, cuts, and scratches on leather and vinyl surfaces. This kit comes with a range of colors to match the color of your leather or vinyl, and easy-to-use tools to help you make repairs. This kit can help you restore your leather and vinyl to its original condition, eliminating the need for costly replacements.
These repair kits are designed for both professional and DIY use and are user-friendly even for those without any prior repair experience. They are a cost-effective solution for homeowners, renters, or professionals who want to keep their space looking like new. With Coconix, whether you need to fix a tear in your leather couch, a scratch on your hardwood floor or a stain on your carpet, you have the right tool for the job.