How to repair a damaged parquet floor?
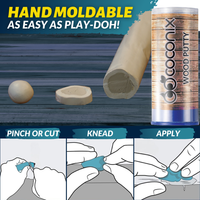
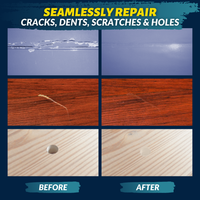
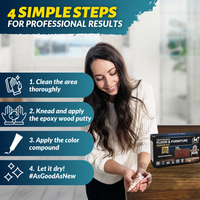
Parquet flooring adds a touch of elegance and sophistication to any space, but it's not immune to damage. Loose tiles, scratches, dents, and general wear and tear can all take a toll on its appearance. The intricate patterns and delicate wood can make repairs seem daunting, but with the right tools and guidance, you can restore your parquet floor's original beauty. The Coconix Floor and Furniture Repair Kit provides everything you need to fix those imperfections and bring back the charm of your parquet flooring. Our detailed guide will show you how to tackle each type of damage, ensuring a flawless and long-lasting repair.