How to repair a hole in a fabric recliner?
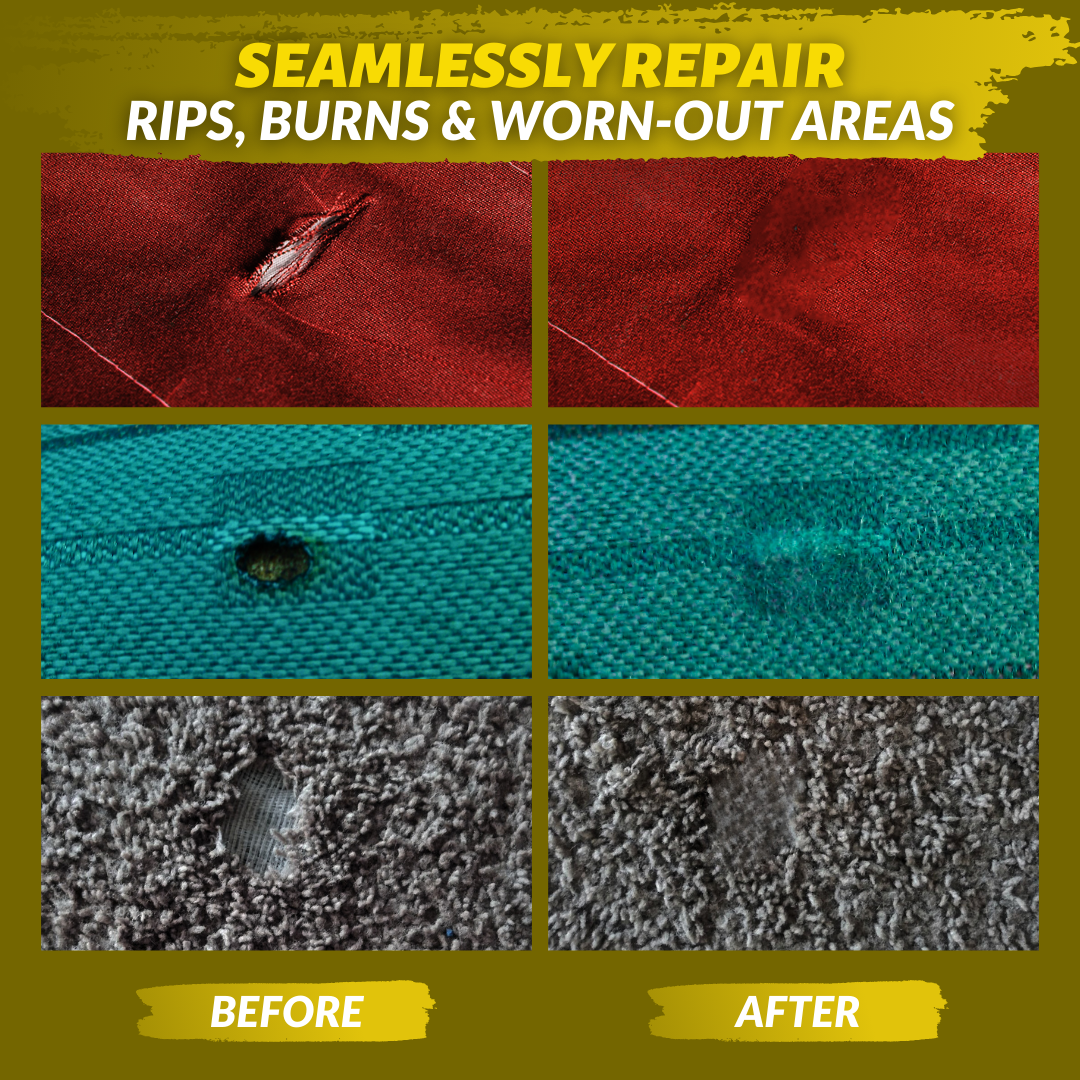
A hole in a fabric recliner can be a frustrating blemish on an otherwise comfortable and stylish piece of furniture. Whether caused by wear, an accidental puncture, or pet damage, a hole can grow larger over time, leading to further issues. Repairing it promptly not only restores the recliner’s appearance but also prevents additional damage, ensuring its comfort and usability for years to come. With the right materials and a bit of patience, even a significant hole can be patched effectively, giving your recliner a new lease on life.