Repair guide
How to fill a hole in a ceramic tile?
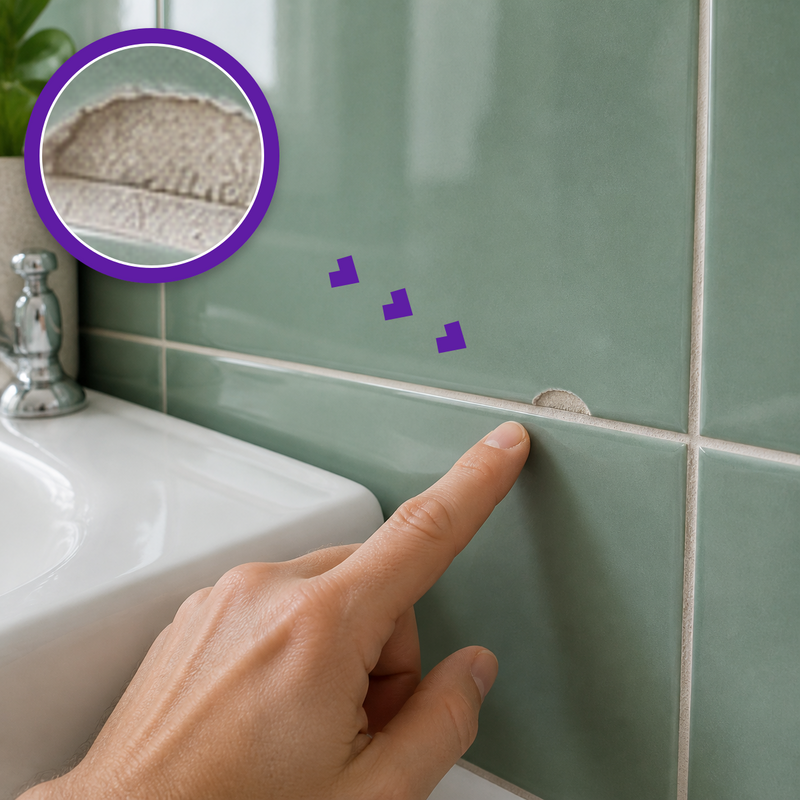
A drilled mounting hole, impact hole or missing section in a firmly installed ceramic wall or floor tile can be rebuilt and color-matched without removing the tile. The Coconix Tile & Stone Repair Kit combines epoxy tile putty for the missing depth with ten mixable color compounds for the visible glazed surface.
Remove any plug, anchor and loose ceramic, then clean and dry the opening. Rebuild the void with putty, match and apply the tile color, level the surface and recreate nearby speckles, veining or a solid glaze in thin layers before letting the repair harden.
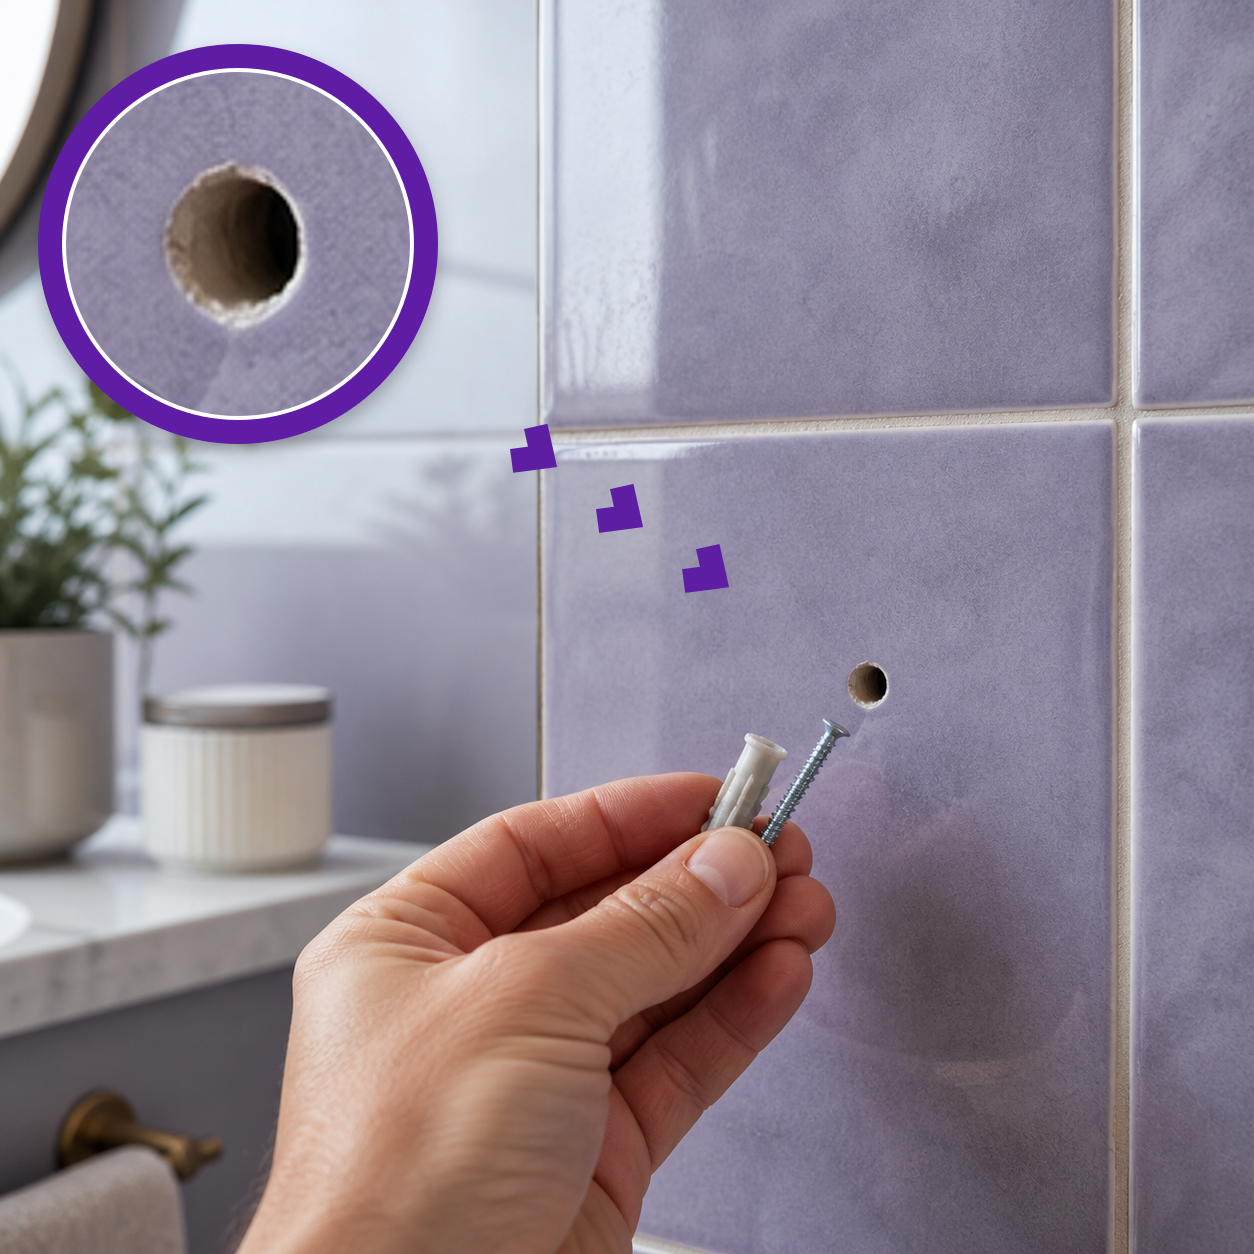
Repair at a glance: holes on a ceramic tile
- Material
- ceramic tile
- Damage
- holes
- Item
- ceramic tile
Repair cost
How much does it cost to repair holes on a ceramic tile?
Professional repair estimates by currency
USD
United States dollar
- Smaller repair$100–$300
EUR
Euro
- Smaller repair€50–€150
GBP
British pound
- Smaller repair£75–£125
What does professional repair cost?
What does a DIY repair cost?
$19.95
The kit price shown here is live. One kit can often cover more than one small repair.
See the repair kitWhat changes the repair cost?
- The size, depth and severity of the damage
- The material and whether reinforcement is needed
- The color, grain, texture and finish-matching work
- Local labor rates and whether the item must be transported
Professional prices are indicative ranges from the approved article content and can vary by repairer, location and condition. Request a local quote for an exact comparison.
Difficulty
How difficult is it to repair holes on a ceramic tile?
Time required
How long does it take to repair holes on a ceramic tile?
When holes on a ceramic tile can be repaired at home
When to call a professional for holes on a ceramic tile
Prepare before you start
Materials needed to repair holes on a ceramic tile
-

Coconix Tile & Stone Repair Kit
-

Cleaning Cloth
-

Sanding Paper (optional)


Before repairing holes on a ceramic tile
Watch how to repair holes on a ceramic tile
The written procedure below covers the repair steps shown in the video.
Detailed procedure
How to repair holes on a ceramic tile: step by step
-

Step 1
Clean and Prepare the Chip or Hole
- Remove loose fragments, dust, and debris from the damaged recess while preserving sound surrounding edges.
- Wipe the chip or hole with a damp cloth and let the area dry thoroughly before filling it.
-

Step 2
Knead Putty for the Missing Depth
- Use the epoxy tile putty for a chip or hole deeper than 1/4 inch (0.6 cm); for shallow surface loss, the repair compound can be applied without putty.
- Knead the putty until its color is uniform and apply it within two minutes.
-

Step 3
Rebuild the Chip, Hole, or Edge
- Press the putty firmly into the recess so no air bubbles remain and the missing depth is supported.
- Shape the putty to the original face, corner, or edge before it hardens, leaving room for the thin color-compound finish.
-

Step 4
Mix the Matching Surface Color
- Use the color guide and mixing jar to reproduce the base color of the surrounding tile or stone.
- Test the mixture on a small area and let it dry fully before refining the tint, shade, or secondary colors.
-

Step 5
Cover the Rebuilt Area with Color Compound
- Apply the repair compound beneath and along the remaining edges first, then work inward over the rebuilt area.
- Use the spatula for the main face and the brush for corners, narrow edges, and detailed touch-ups.
-

Step 6
Shape the Original Surface and Remove Excess
- Level the repair to the original surface or edge profile while the compound remains workable.
- Remove excess from the intact surrounding finish with a paper towel or damp cloth before it dries.
-

Step 7
Add Veining or Texture and Let It Dry
- Use the fine brush and matching secondary colors to continue nearby veining, pattern, or texture across the repair.
- Allow several hours for the compound to dry until it is no longer sticky, then add another thin layer only if the repair still sits low.


Protect the result
How to care for a ceramic tile after repairing holes
- Let the repair compound dry for several hours until it is no longer sticky before normal cleaning or use.
- Use gentle, surface-compatible cleaners and avoid direct impact on a rebuilt edge.
- If the repair settles below the surrounding surface, add another thin matched layer after the previous layer is ready.
Aftercare
Troubleshooting
Why does a tile or stone chip or hole repair look too high, low or visible?
The epoxy putty or surface compound was left above or below the surrounding level, the base color differs, or the nearby pattern was not recreated.
If the repair is still workable, shape and level it with the surrounding surface. If a fully dry repair is low, add another thin matched layer after the previous layer is ready. Compare the dry color beside an undamaged area and add only the nearby pattern detail needed to break up the repair boundary.
Avoid aggressive scraping, grinding or sanding on a glazed, polished or delicate surface when the safe finishing method is uncertain; request product-specific guidance before altering the surrounding finish.
Why is tile or stone repair compound not bonding or curing evenly?
Contamination, moisture, incomplete epoxy-putty mixing, continuing substrate movement or disturbance during curing is preventing a stable bond.
Correct movement or moisture first. Remove only loose or unstable repair material, then clean and dry the damaged surfaces. Prepare the epoxy putty uniformly, rebuild the stable void to the surrounding level, apply the matched surface color as directed and keep the repair undisturbed for the full drying period.
Use qualified assessment when moisture or movement continues, the installation is broadly loose, or the damaged section cannot support a stable localized repair.
Why did the repair color change as it dried?
The mixture was judged while wet, the test layer was too thick, or the surface detail and lighting changed the apparent result.
Keep the remaining mixture. Make one very small correction, mix thoroughly and test again. If the base color is correct but the repair still stands out, recreate the required texture, grain, pattern or pile instead of changing the color again.
Stop before visible application if repeated small tests do not match; send Coconix natural-light photos of the whole item, the damage and a nearby undamaged area.
Frequently asked questions
What damage can the Coconix Tile & Stone Repair Kit repair?
Which surfaces are compatible with the Coconix Tile & Stone Repair Kit?
How do I match the color and pattern of a tile or stone repair?
What should I check before repairing tile or stone damage?
Customer repair story
Amazing Product. Great customer service.
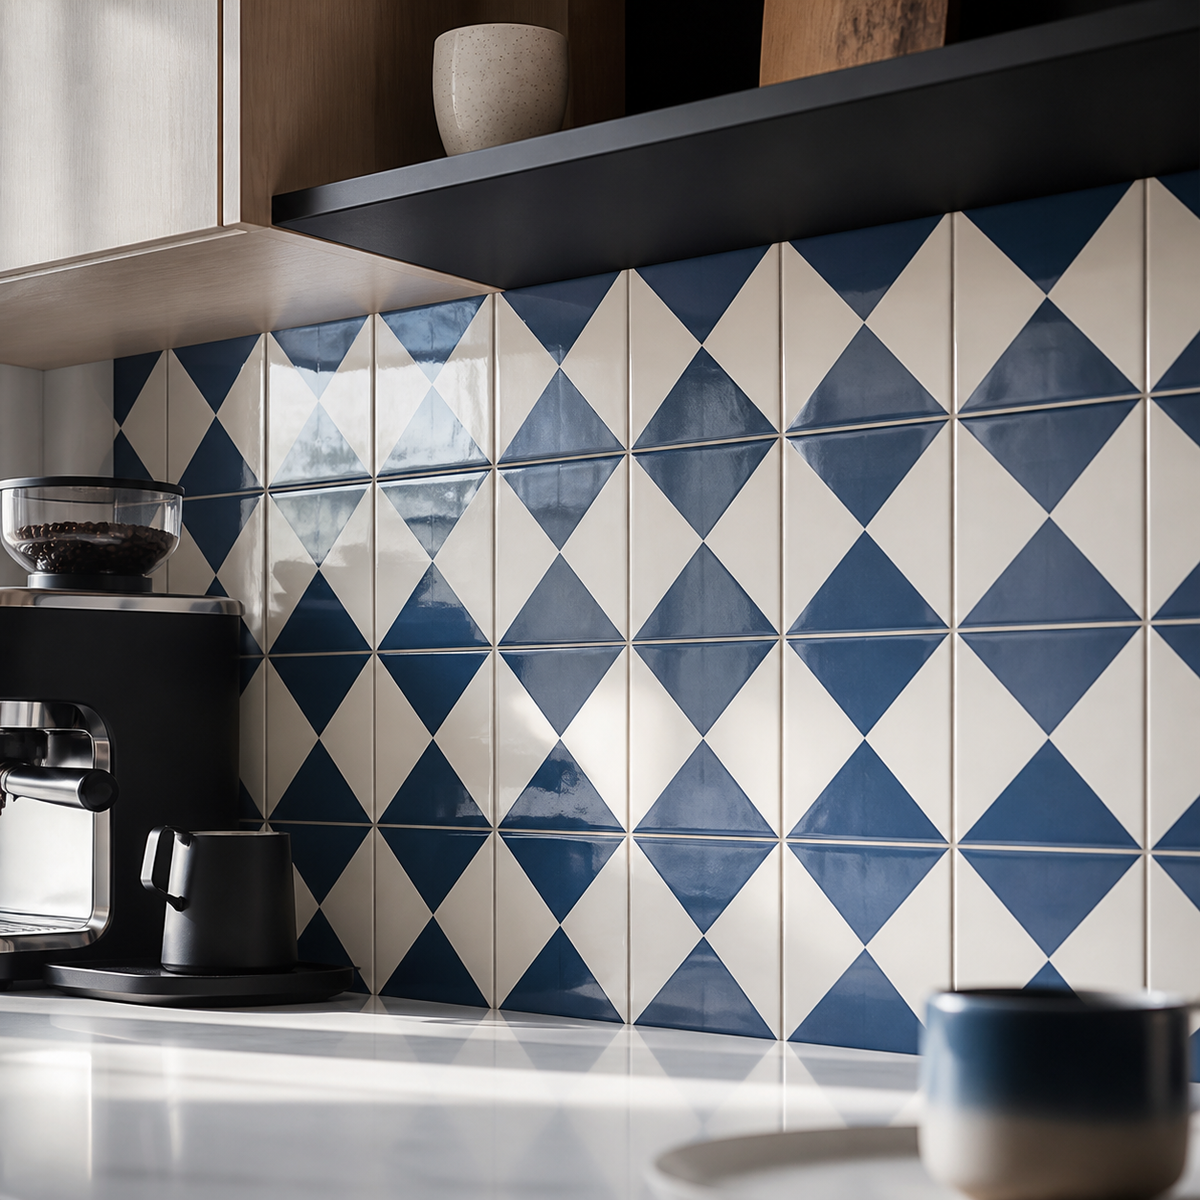
We found this product through a Google search once a hole developed in our slate. It came quickly, with well written instructions and good quality product. As you can see from the photo, we were able to match the color of our slate nearly perfectly. And,the company has reached out to make sure we don’t have questions. Personal service for a great product.
Individual repair results vary with the damage, material, preparation and application.
Recommended for this method
Best Coconix kit to repair holes on a ceramic tile

Tile & Stone Repair Kit - Mix & Match Any Color
$19.95
Repair tile and stone damage without replacing the entire surface. The Coconix Tile and Stone Repair Kit combines kneadable epoxy tile putty with 10 mixable repair compounds to...
More repair possibilities