Coconix product selector
The Ultimate Guide to Choosing the Right Coconix Repair Kit
- Product families
- Leather Care PROWood Restore PROFabric Mend PROTile Repair PRO
- Designed for
- First-time Coconix customersDIY repairersCustomers comparing repair options

Quick answer
What this guide will help you do
- Identify the material before choosing by color, item name, or appearance.
- Use repair kits for compatible localized damage and Recoloring Balm for broad compatible leather or vinyl recoloring.
- Inspect backing, padding, seams, structure, moisture, movement, and missing material before choosing the product.
- Use the product-specific guide or send clear photos to Coconix when the material or repair scope remains uncertain.
Start here
Choose a Coconix repair kit by material, damage and repair goal
The correct Coconix product is determined by what the item is made from, what is damaged and how much of the surface needs treatment.

Visual identification
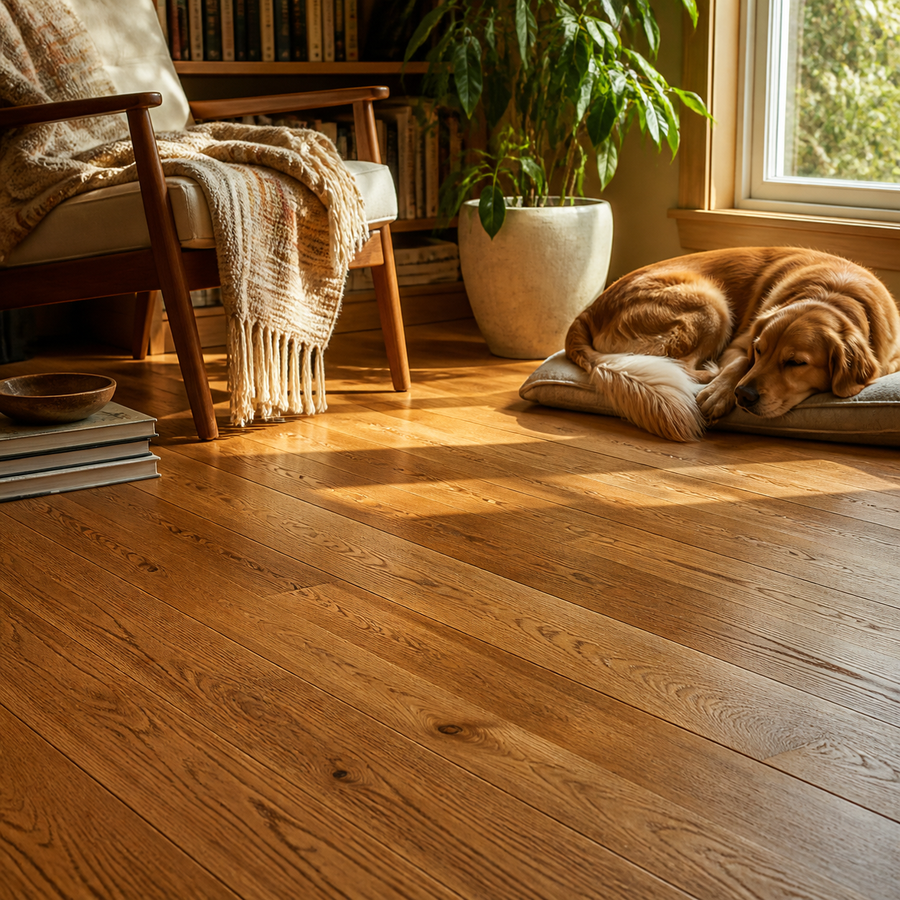
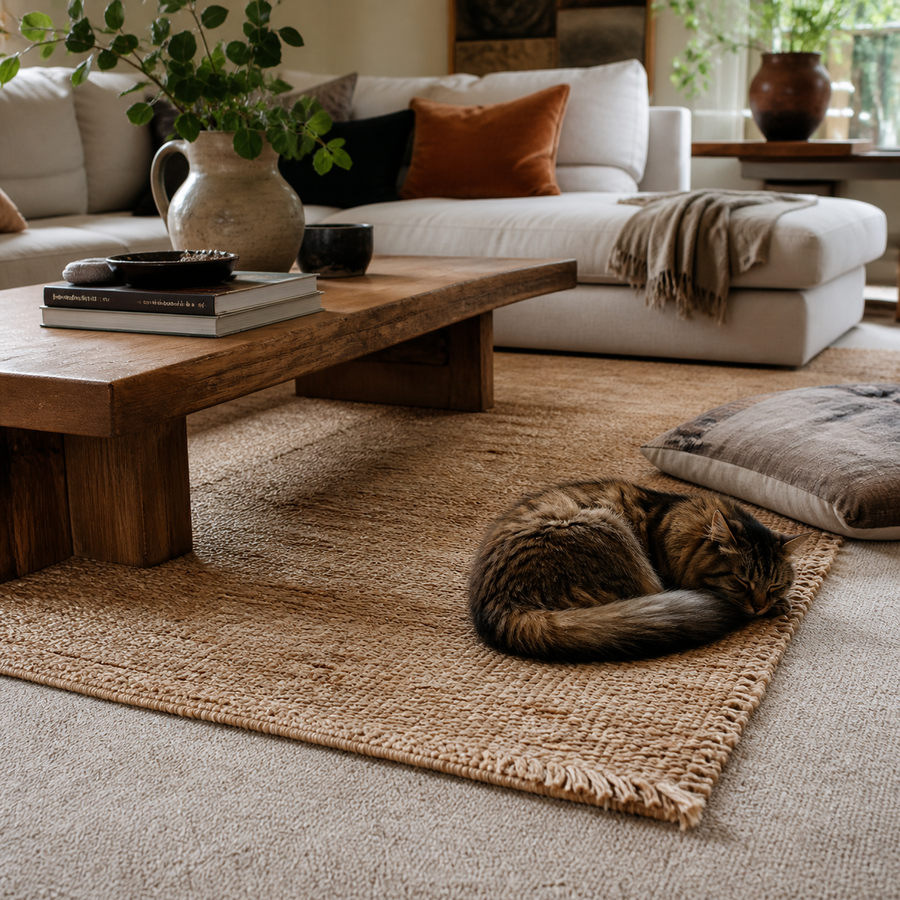
Compare Coconix repair systems by material
Use the product family images as a first map, then confirm the damage scope in the assessment.


Start here
Answer three questions before choosing a repair product
Identify the material, define the repair goal, and assess the complete damage.
Decision comparison
Compare Coconix products by repair scope
Choose the material system first, then separate localized rebuilding from broad recoloring and verify the full damage depth.
Leather and vinyl
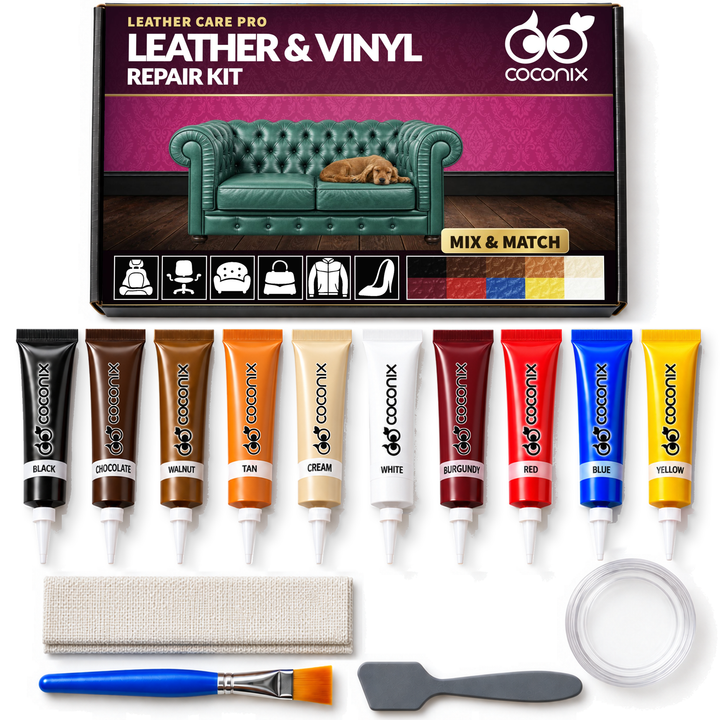
Choose a Leather & Vinyl Repair Kit
Use a Repair Kit for localized scratches, cracks, worn color, peeling, punctures, burns, holes, cuts, and tears.


Leather and vinyl
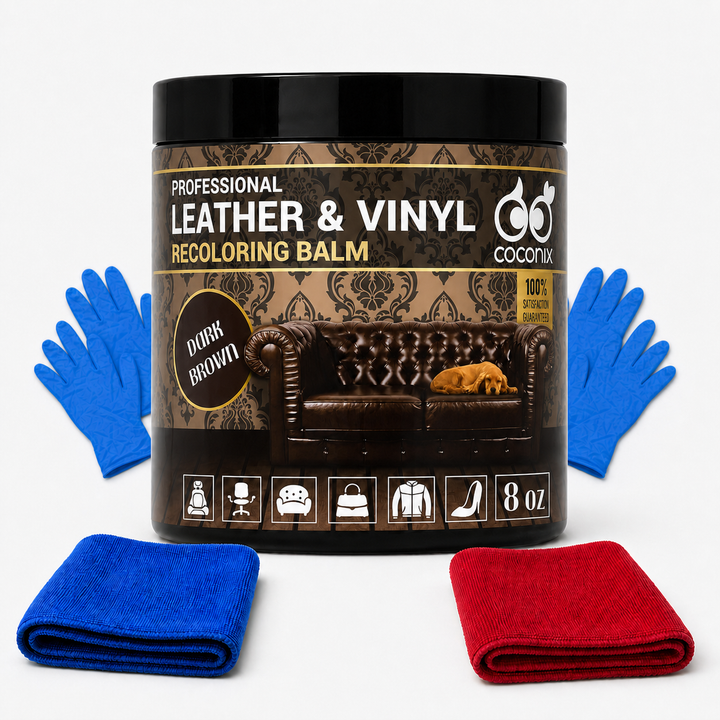
Choose a Leather Recoloring Balm
Use Recoloring Balm for broad compatible-surface recoloring after any open damage is repaired.


Wood Restore PRO
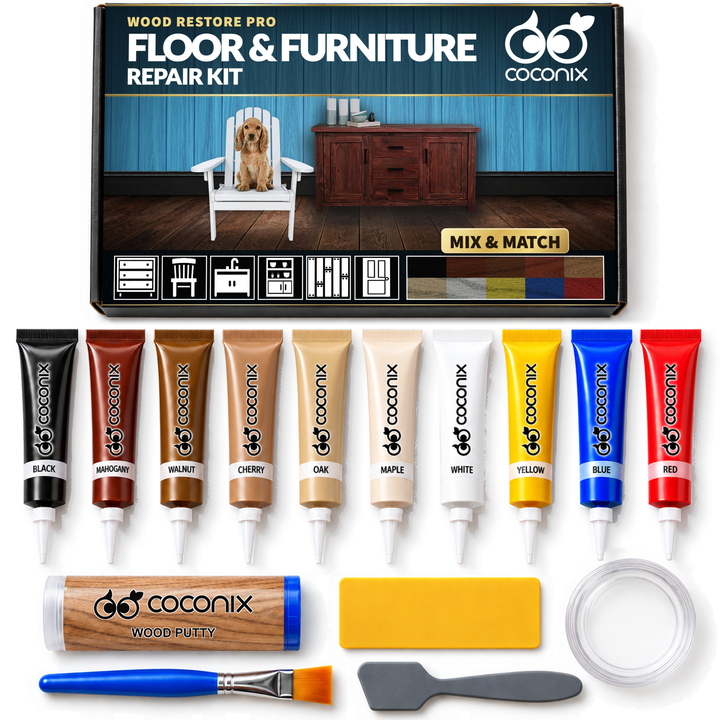
Choose the Floor & Furniture Repair Kit
Use the wood system for compatible localized scratches, chips, dents, cracks, holes, burns, stains, fading, and prepared deep voids.

Fabric Mend PRO
Choose the Fabric & Carpet Repair Kit
Use the fabric system for localized carpet, rug, fabric-upholstery, and cloth car-interior damage.

Tile Repair PRO
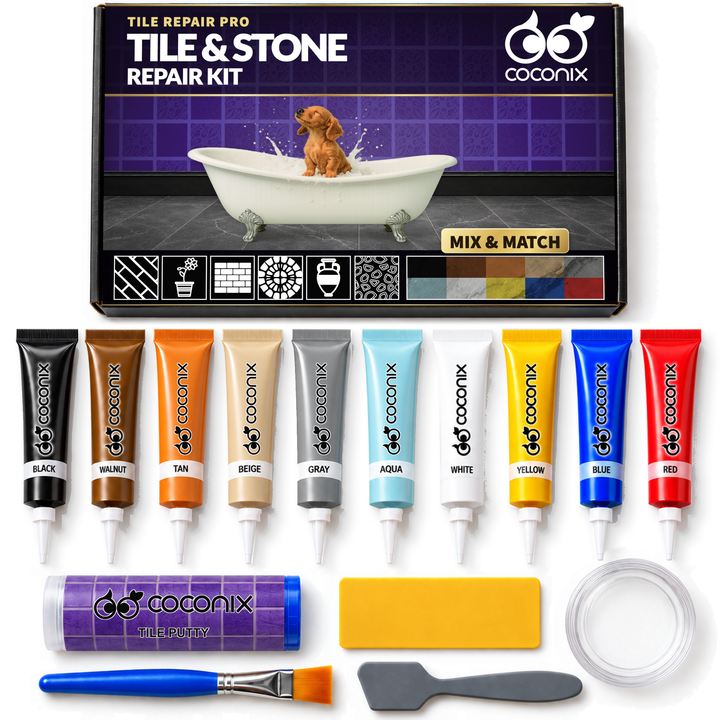
Choose the Tile & Stone Repair Kit
Use the hard-surface system for compatible localized chips, cracks, holes, and surface damage in tile and stone.

Method finder
Open a Coconix repair guide after choosing the product
Use the closest material and damage guide for the approved supplies, steps and explanations.
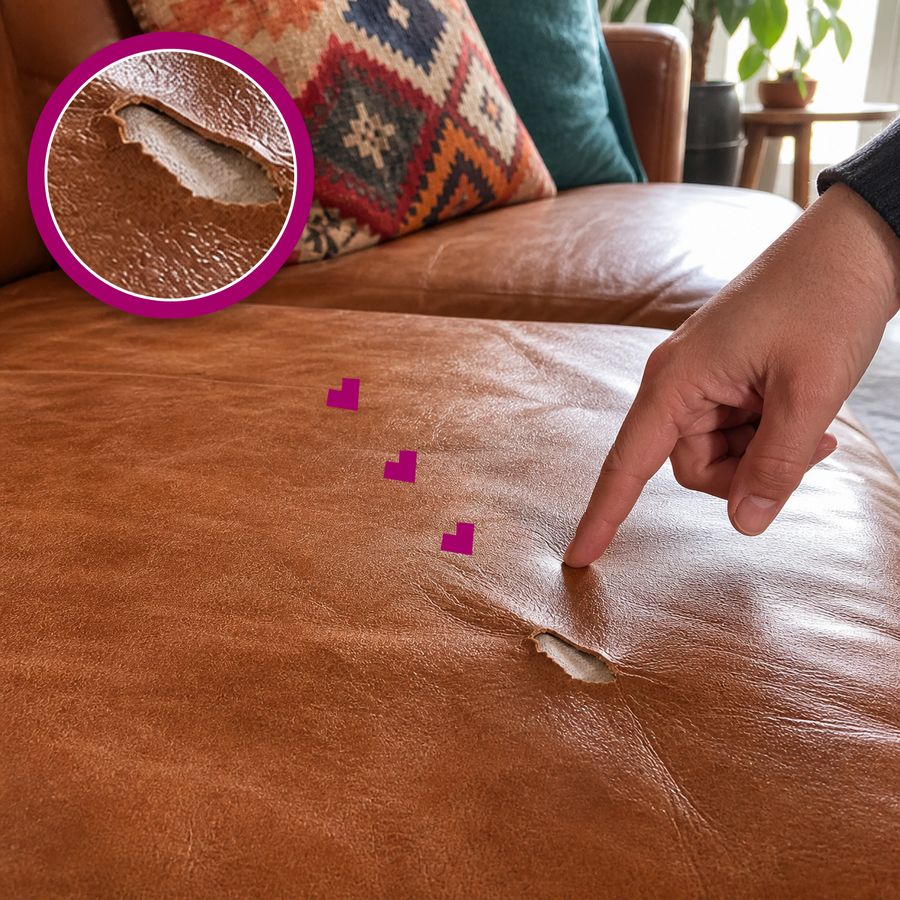


Quality check
How to check that the selected Coconix product fits the repair
Before application, the selected product should match the material, damage depth, repair size and intended finish.
Troubleshooting
Troubleshoot Coconix product selection problems
When the choice feels unclear, return to material, repair scope and the cause of damage.
What should I do if I am unsure which Coconix product matches the material?
- Likely cause
- Products are being compared by color or object name instead of the surface material, damage type, depth and size of the affected area.
- What to do
- Inspect an undamaged area to confirm the material, then check whether the damage is surface-only, opened through the material or missing backing or fill. Match those findings to the product map above and open the damage-specific Coconix How-to before application. For peeling leather or vinyl, use the Repair Kit for a few localized areas that must blend with the original color, and Recoloring Balm when broad stable peeling requires recoloring the larger surface.
Why does a repair stand out after it dries?
- Likely cause
- Color, surface level, edge transition or material detail differs from the surrounding area, even if the other three are correct.
- What to do
- View the fully dry repair from normal distance and light, then check color, level, edge and texture separately. Correct only the failed check with the matching Coconix How-to: adjust and dry-test the mix for color, level only where the approved method permits, keep the blend boundary small, or restore the material-specific grain, pile, weave or texture.
What should I do if the same damage keeps returning?
- Likely cause
- The original stress is still active, the repair did not include the full depth of the damage, the wrong product route was chosen, or the area returned to use before curing.
- What to do
- Inspect beyond the visible mark and name the active cause—movement, moisture, abrasion, heat, contamination, pet behavior or missing support. Correct that cause, rebuild every affected layer covered by the kit, and repeat only the relevant damage-specific method with the full drying period. Do not keep adding surface product over a moving or contaminated base.
- Stop or get help when
- Use specialist assessment for active moisture or rot, structural movement, vehicle safety components, failed furniture mechanisms, broad contamination, active infestation, or material that continues crumbling or delaminating beyond the repair.
Customer repairs
Customer results across Coconix repair systems
These before-and-after images show the different materials and repair scopes served by Coconix product families.

Cuts, rips and tears

Fading and discoloration

Holes and missing material

Cuts, rips and tears

Chips and holes
Care and prevention
Prepare for a successful repair after choosing the kit
Confirm the method, inspect the complete damage and organize the current product instructions before beginning.
Coconix repair solutions
Products featured in this guide
Match the product to the material, damage and size of the repair.

Clear answers
The Ultimate Guide to Choosing the Right Coconix Repair Kit: frequently asked questions
What is the difference between a Leather & Vinyl Repair Kit and Recoloring Balm?
What information determines which Coconix kit I need?
Continue learning